Notices / Banners
The Notices post type works alongside the Notice Block to display Notices/Banners across the site. The main function of the notice post type is to display a primary notice/banner across all pages, with the option to hide the notice or display an alternate notice on a page-by-page basis.
Creating a Notice
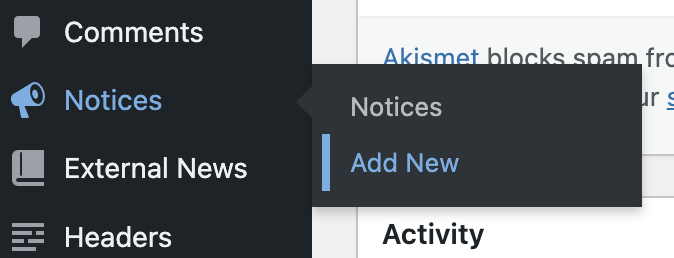
To create a Notice, you need to go to the WP dashboard, hover over Notices and click ‘Add New‘:
You will be taken to the block editor.
Next, give your Notice a Title.
Underneath the Title, you will see the Notice block inserted into the page by default.
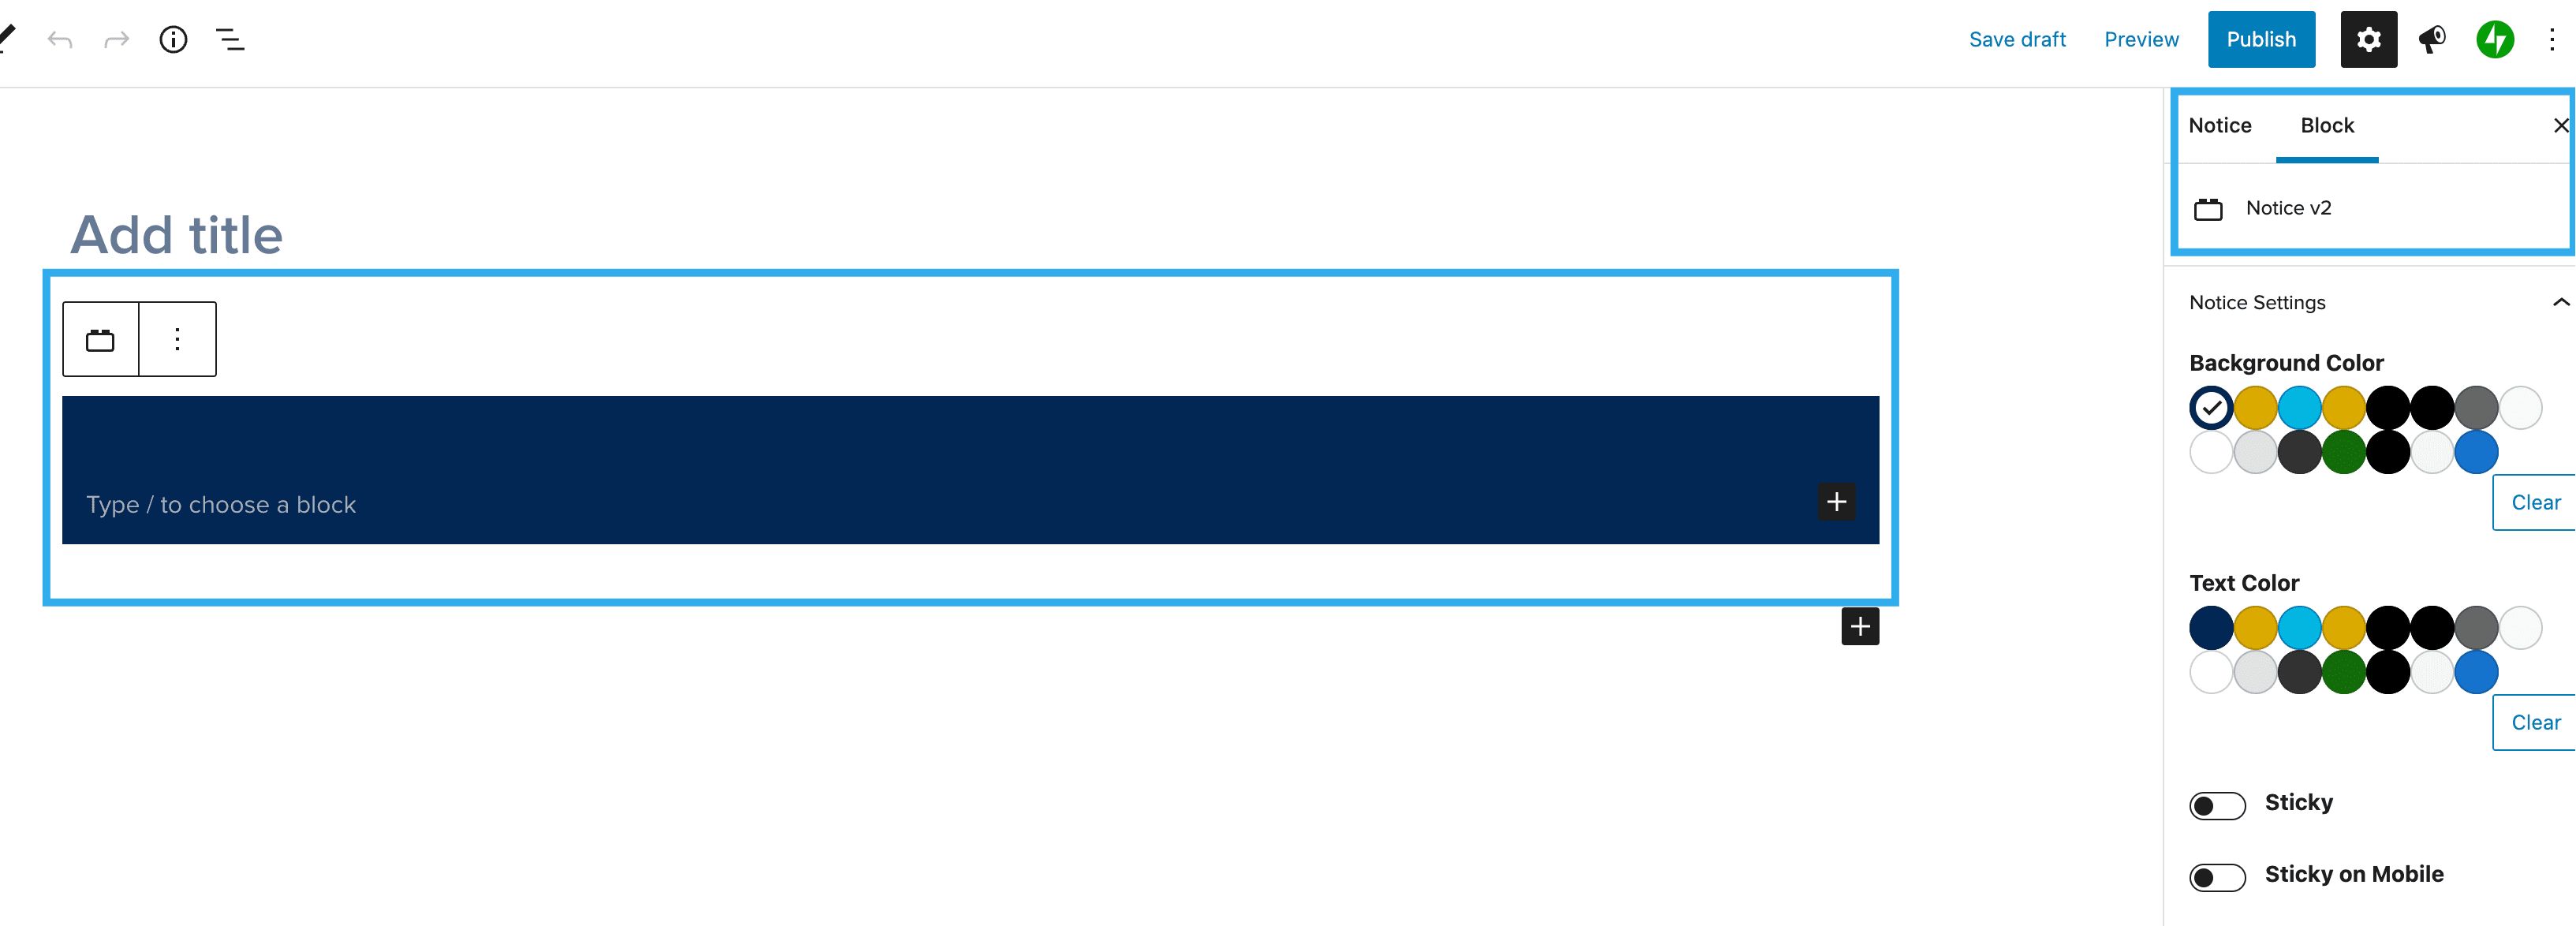
Inside the Notice block, you can add your content using blocks. By default, a Paragraph block will be inserted inside your Notice, so you can start to add content freely without having to insert any blocks.
If you want to add things like Buttons, you can insert the blocks as needed.
Once you have added your content, use the block settings on the right-hand side to set the following:
- Background Color
- Text Color
- Sticky (desktop)
- Sticky on Mobile
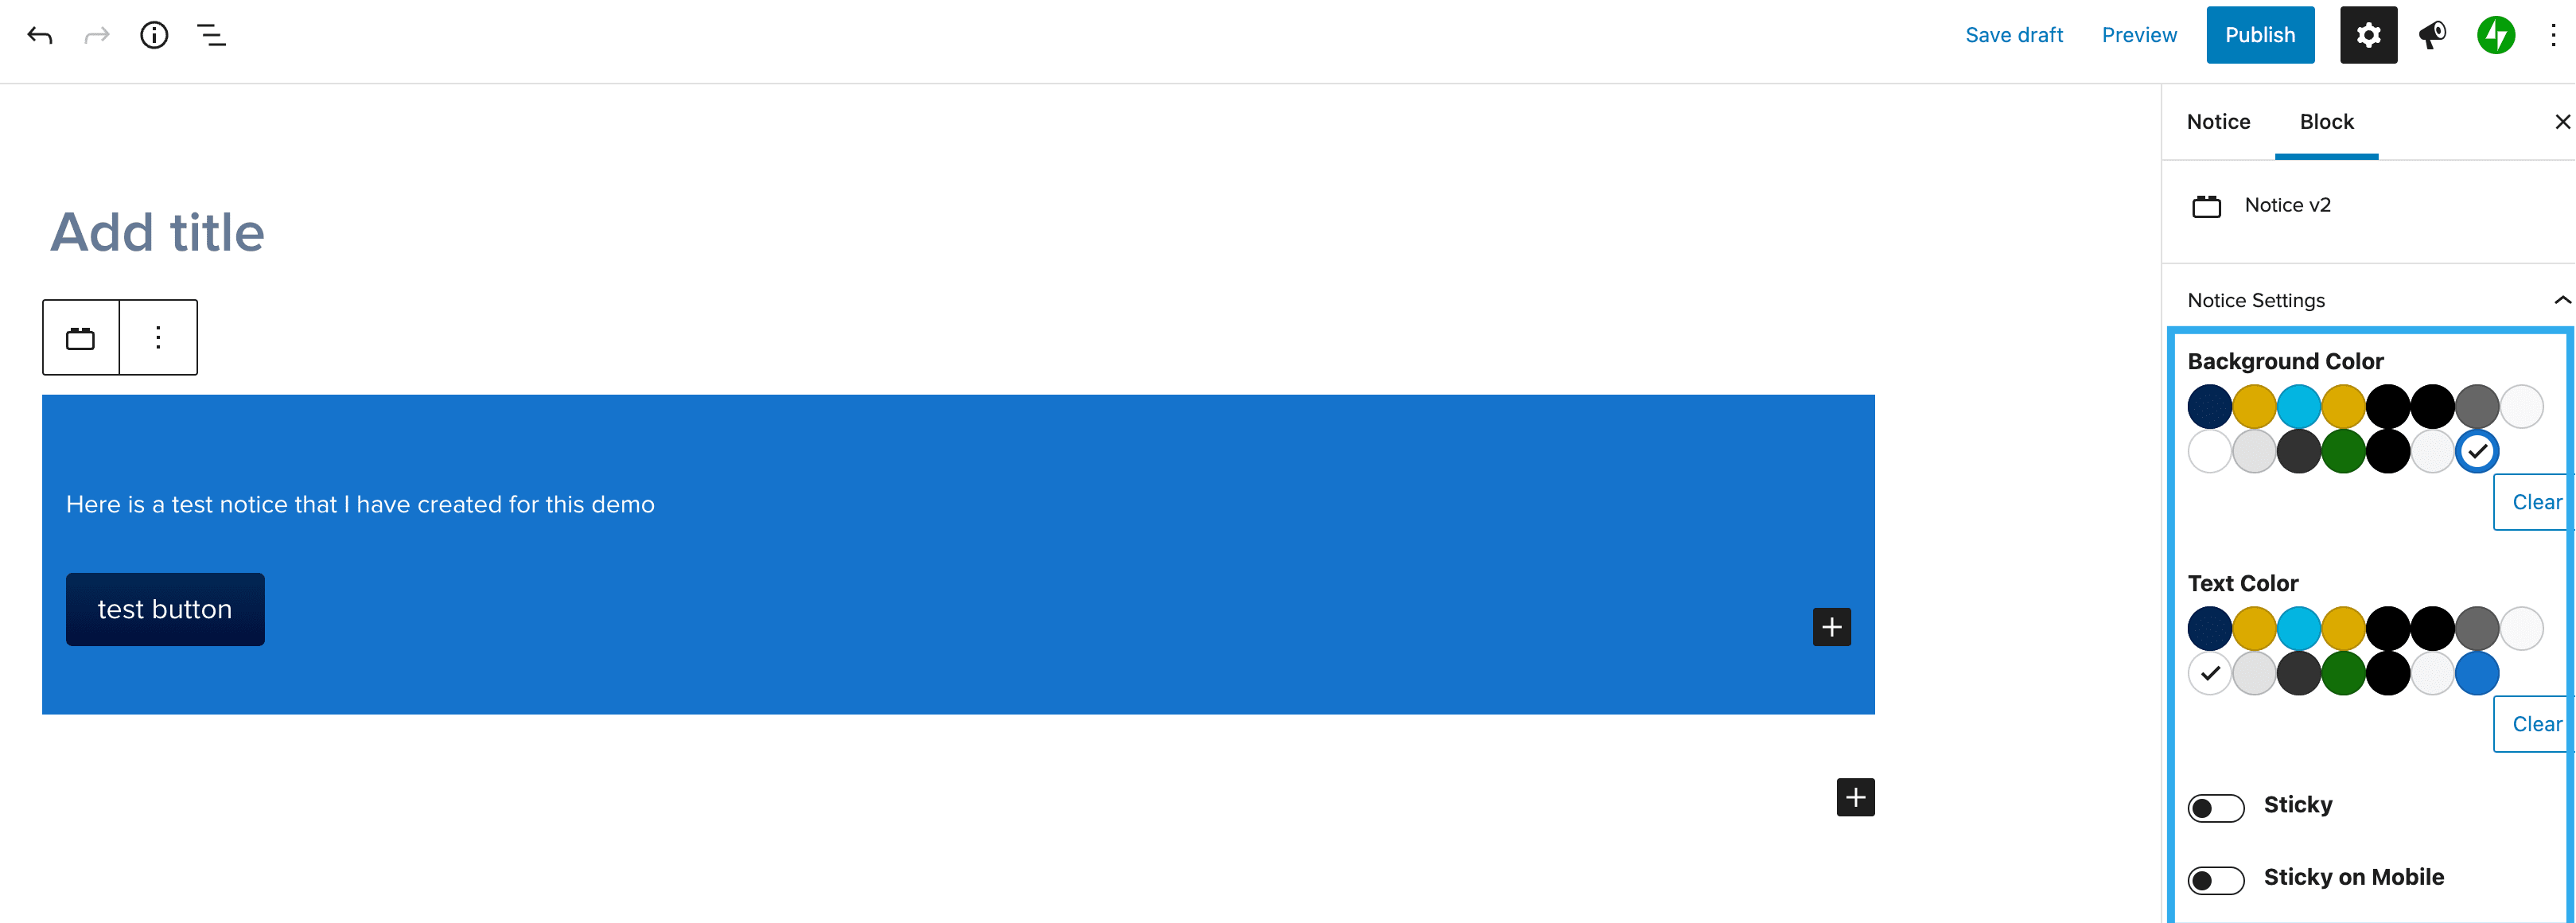
Once finished, hit Publish on the page. Your Notice should now appear on the front-end, across all pages.
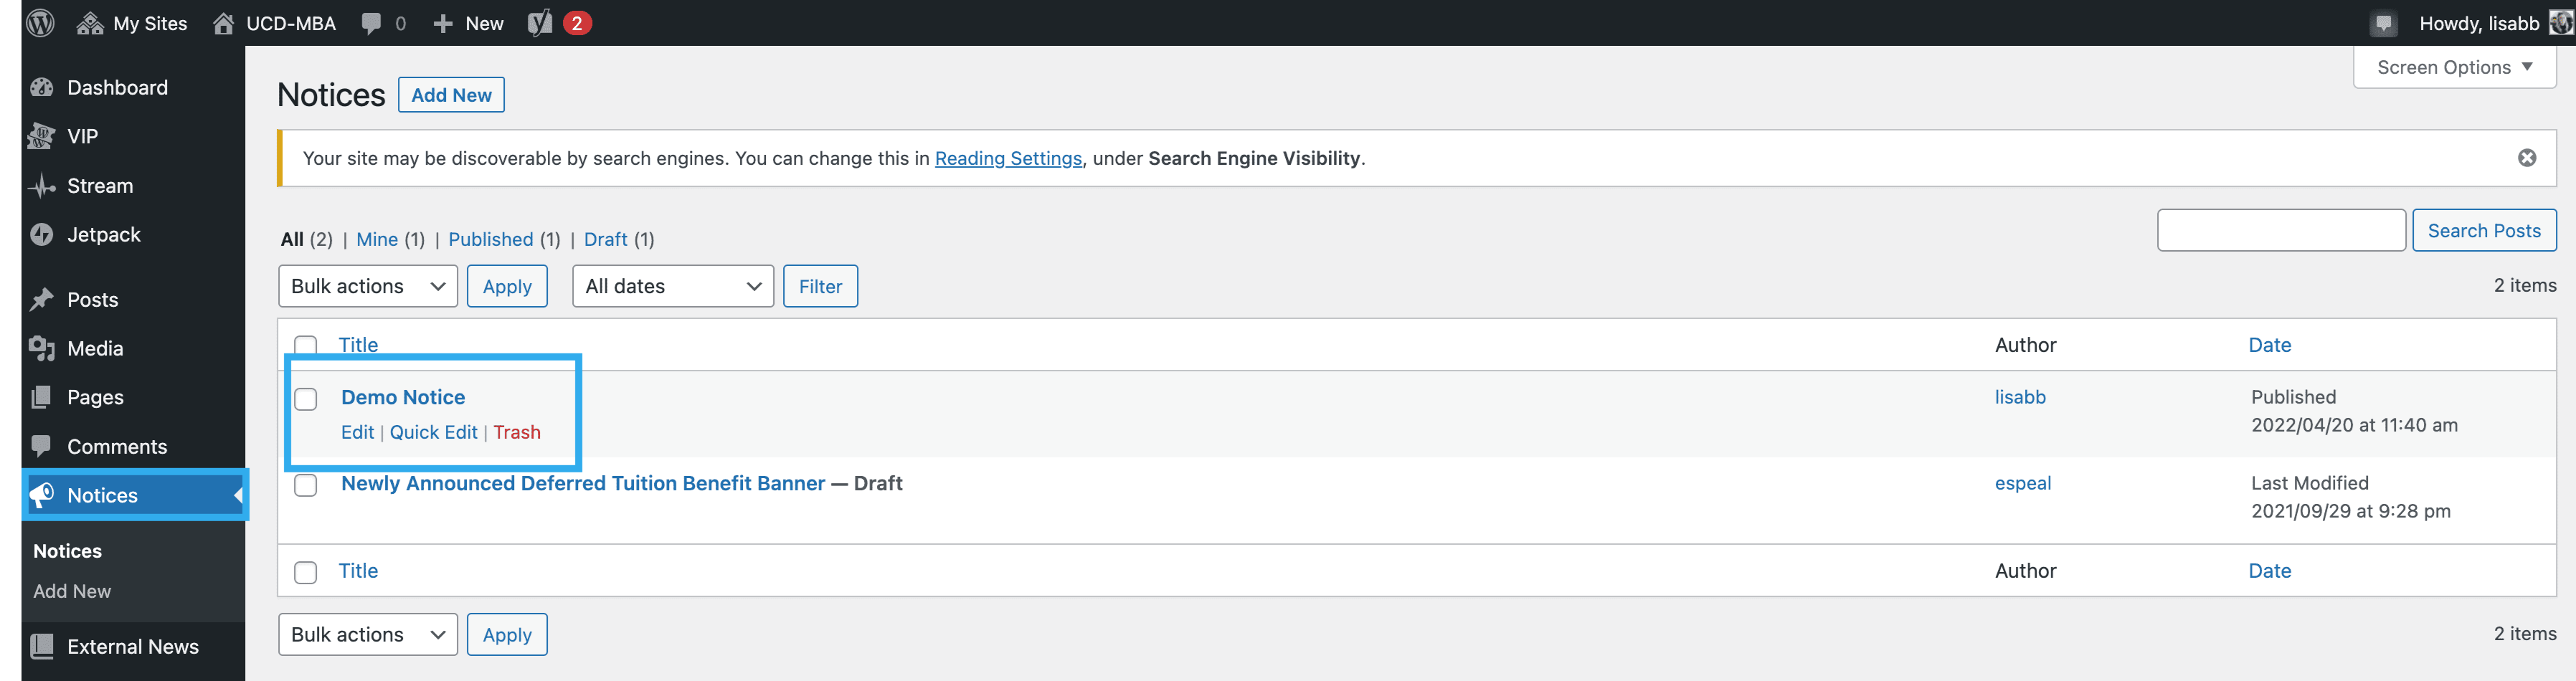
Go back to the Notices page from the WP dashboard, you should see your Notice in the list.
Setting a ‘Site Default’ Notice
If a single notice is published, it will display across all pages by default. If multiple notices are published, the notice with the most recent original publish date will display across all pages by default. To select which notice displays across the site, select ‘Visible on all pages‘ from within the notice editor.

Once published/updated, the notice will appear across all pages. Within the notice controls on a page level, the ‘Site Default‘ notice will refer to the notice with the ‘Visible on all pages‘ setting enabled.
Setting ‘No notice / banner’ at page level
If there is a page / post that you do not want the Notice to appear on, go to the editor for that page / post and click on the Notices icon in the top toolbar.
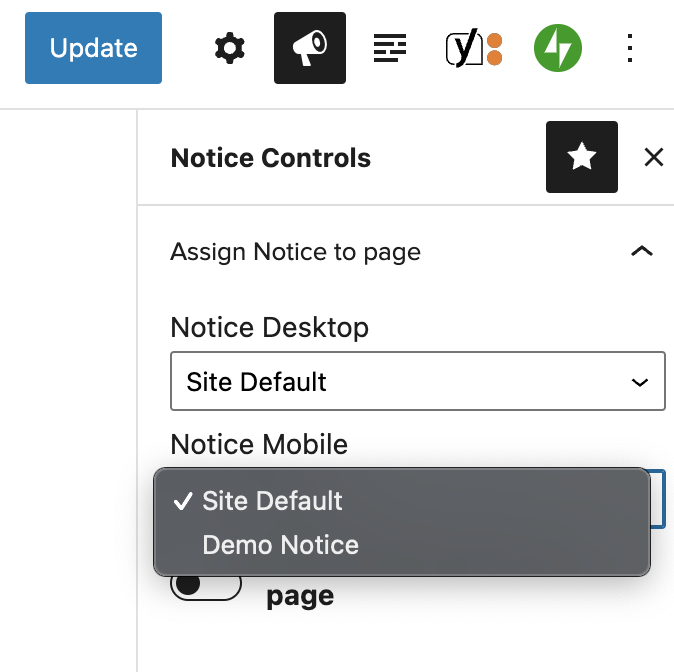
From here, you can use the dropdowns for both Desktop & Mobile to select another Notice to appear, or remove the Notice from the page completely.
To remove a Notice, toggle on ‘Remove notice from this page‘:
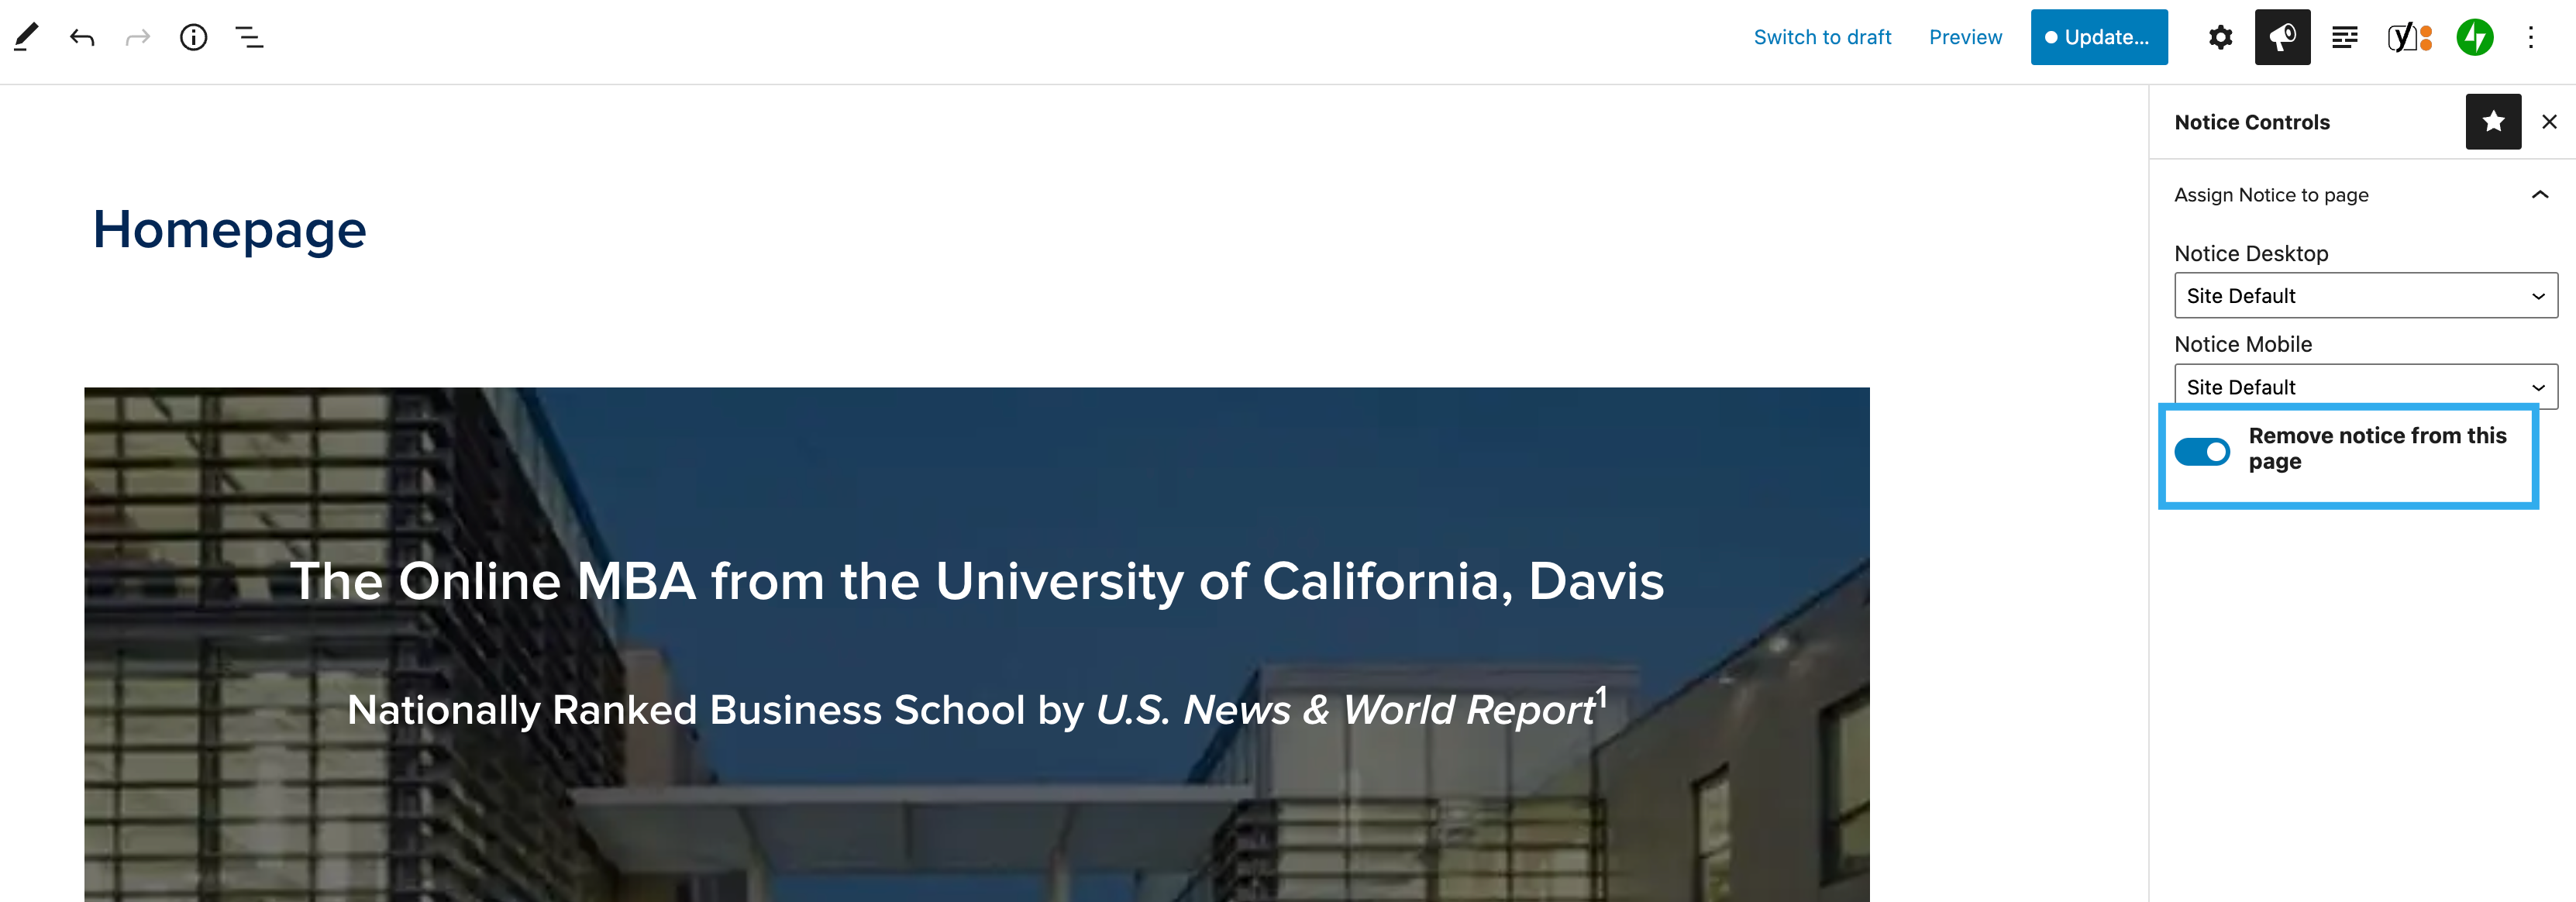
Then, Update your Page.
View the page on the front-end and you should see the Notice no longer appear.
Setting different notices at page level
To show a different Notice on this page, to the rest of the pages on the site, simply choose another Notice from the dropdown.
Note:
- You can show a different Notice on both Desktop & Mobile for the same page.
- Only Notices that are Published, will be shown in the available Notices dropdown on the page settings
Setting an ‘un-publish’ date
There is now also the ability to set an un-publish date for Notices, so they will expire on the date set and no longer have to be manually removed.
Go to the WP dashboard and click on Notices.
Click into an existing Notice or add a new one.
From the top toolbar, click the Notices icon, you will be presented with the following settings:
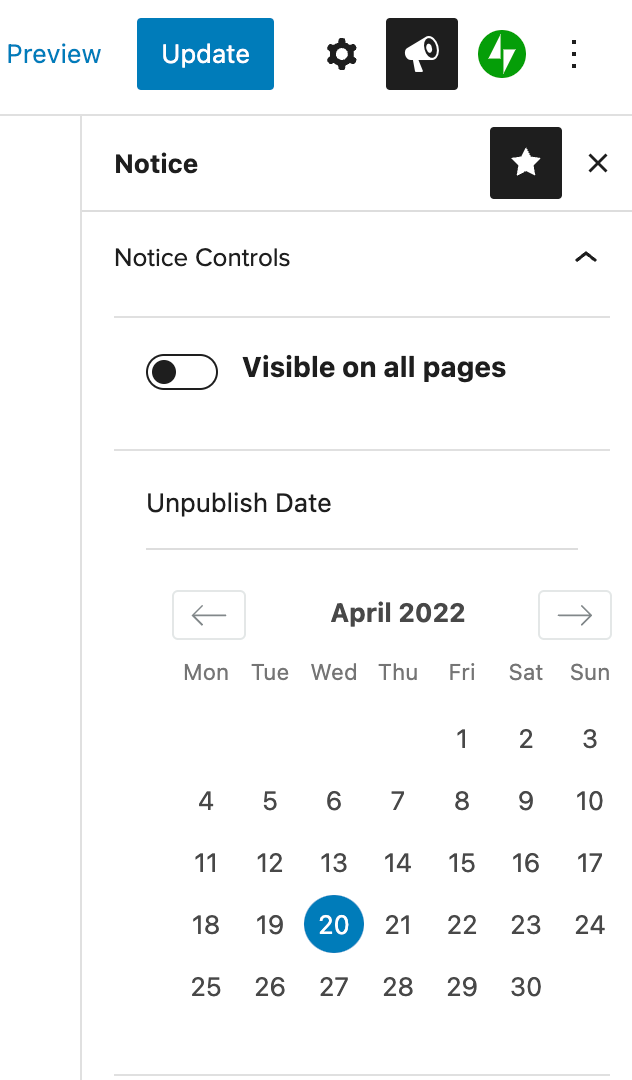
Simply select the date from the calendar that you want the Notice to expire.