Global Settings
How it works
As part of the Theme Development for 2U, Big Bite designed & developed a React-based app which lives within the WordPress dashboard, to control the Global Settings of each site.
This houses settings for elements such as:
- General
- Header
- Footer
- Navigation Options
- Typography
- Colours
- Branding
- Taxi
- Blog
- Gutenberg Blocks (e.g. content container / section)
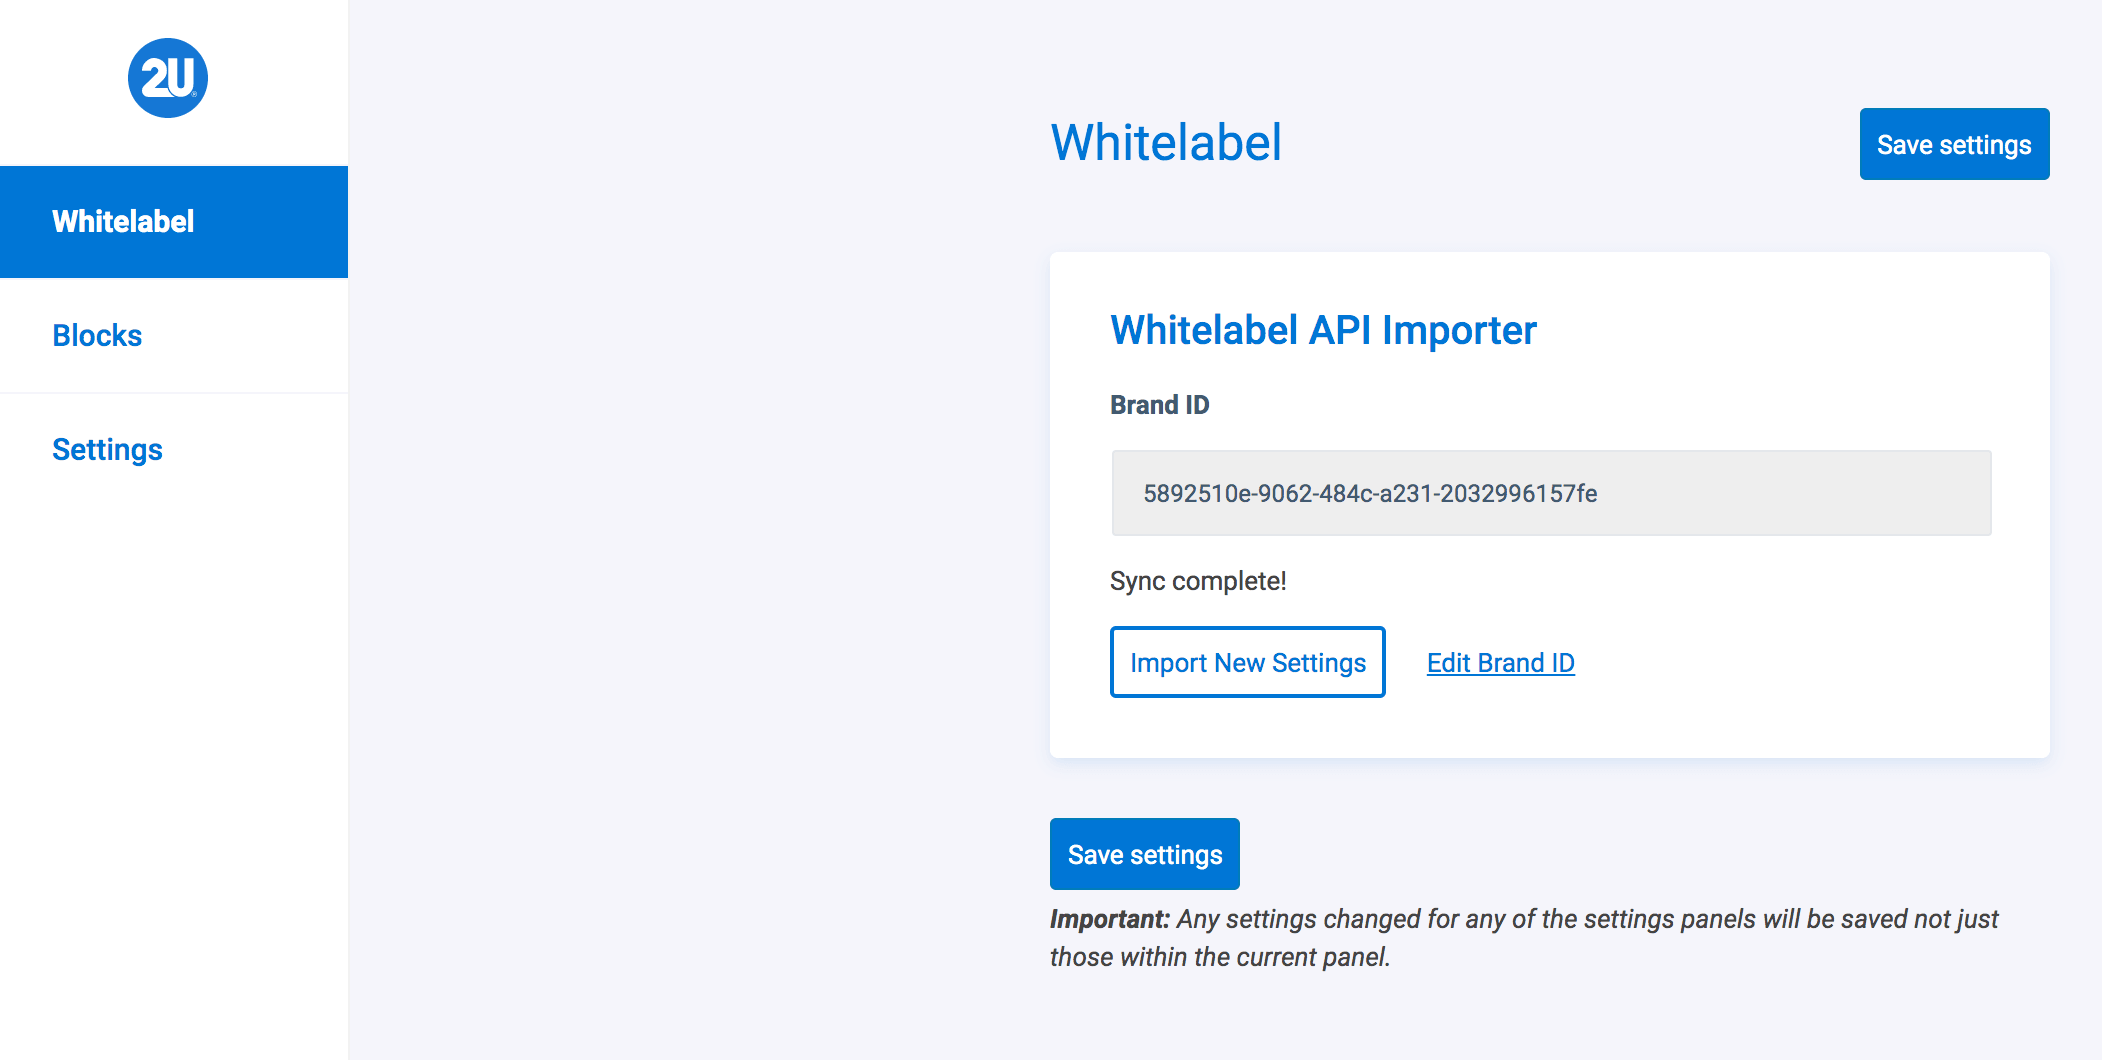
This is also the area used to control the Whitelabel & Taxi integrations. You can import new settings from Whitelabel by going to Options > Whitelabel > Import New Settings. Or set the Brand ID here too.
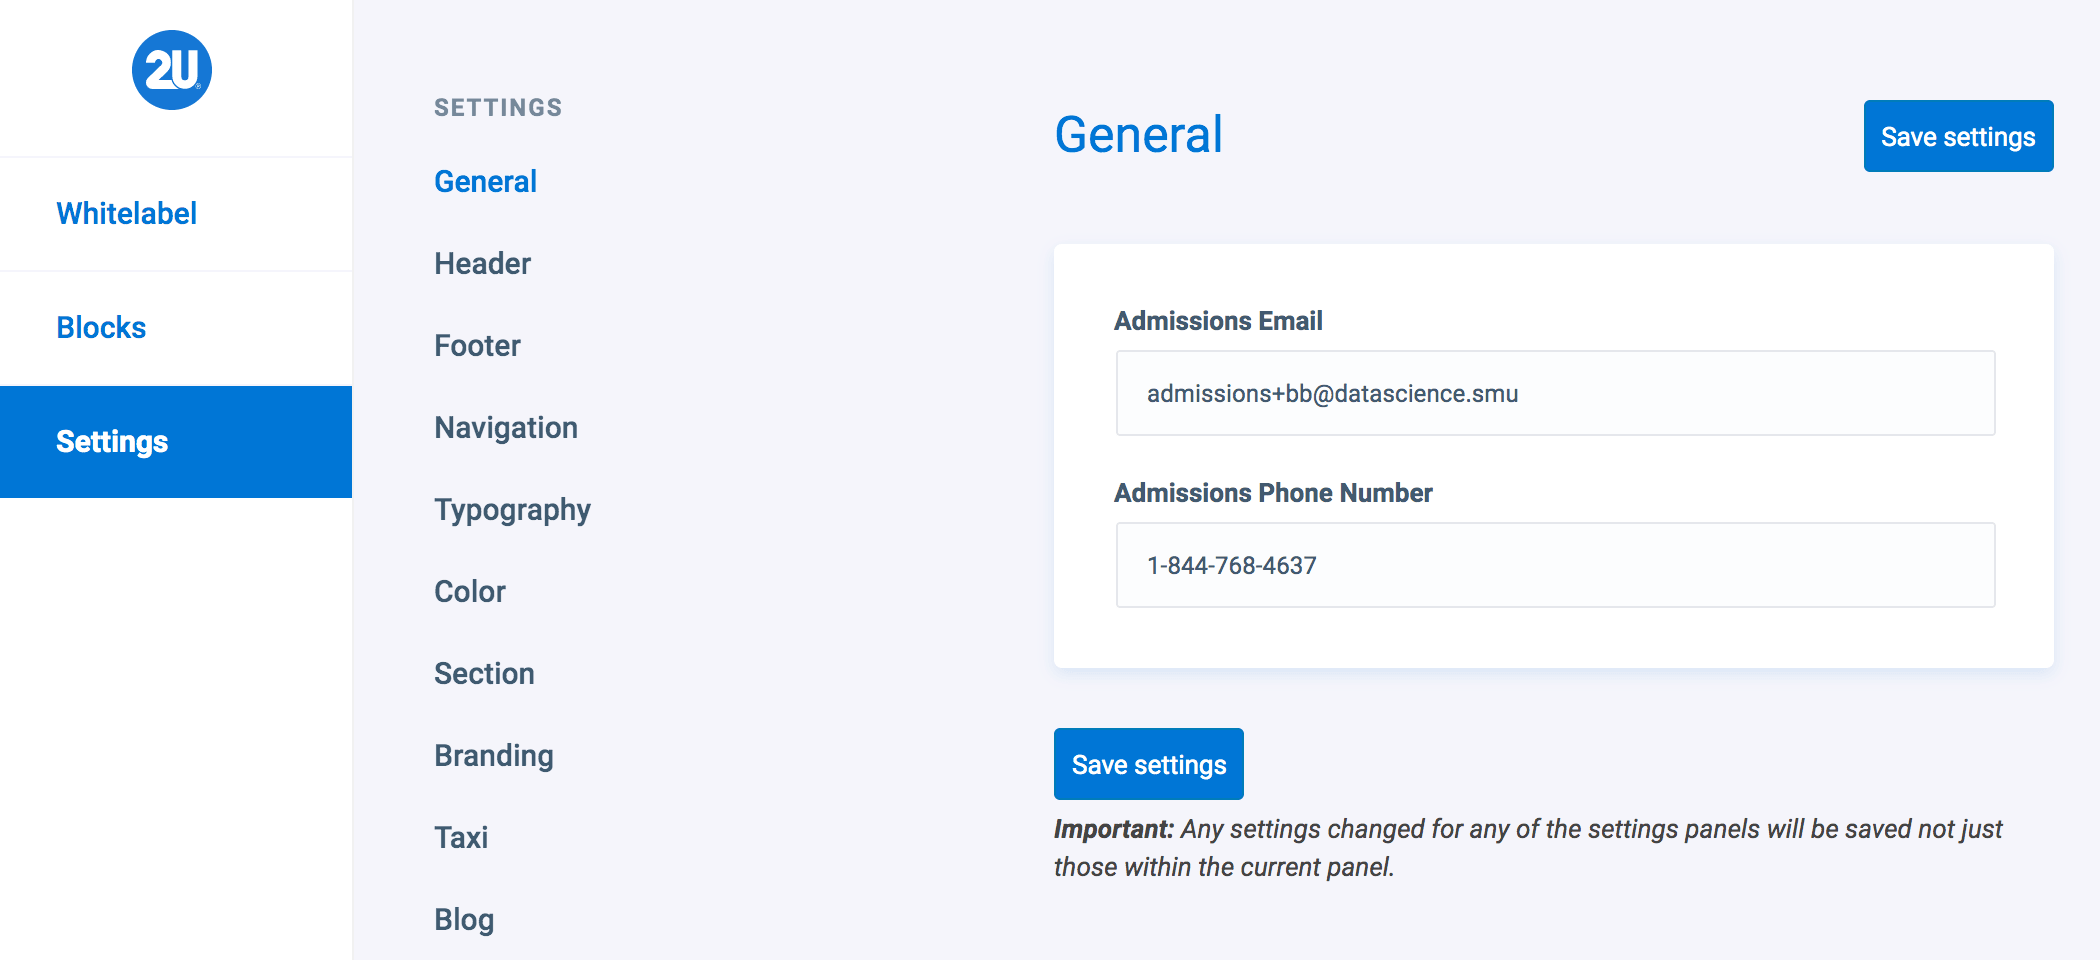
General
The General settings tab allows you to edit the Admissions Email and Admissions Phone Number.
Header
The Header area of Global Settings allows you to select the overriding settings for elements such as:
- ‘Apply Now‘ CTA button
- Navigation Alignment
- Navigation Style (Hover & Active State Colours)
- Logo 1 & 2 Horizontal & Vertical Alignment
- Footer Logo Height & Padding
- Mobile Logo Alignment, Height & Padding
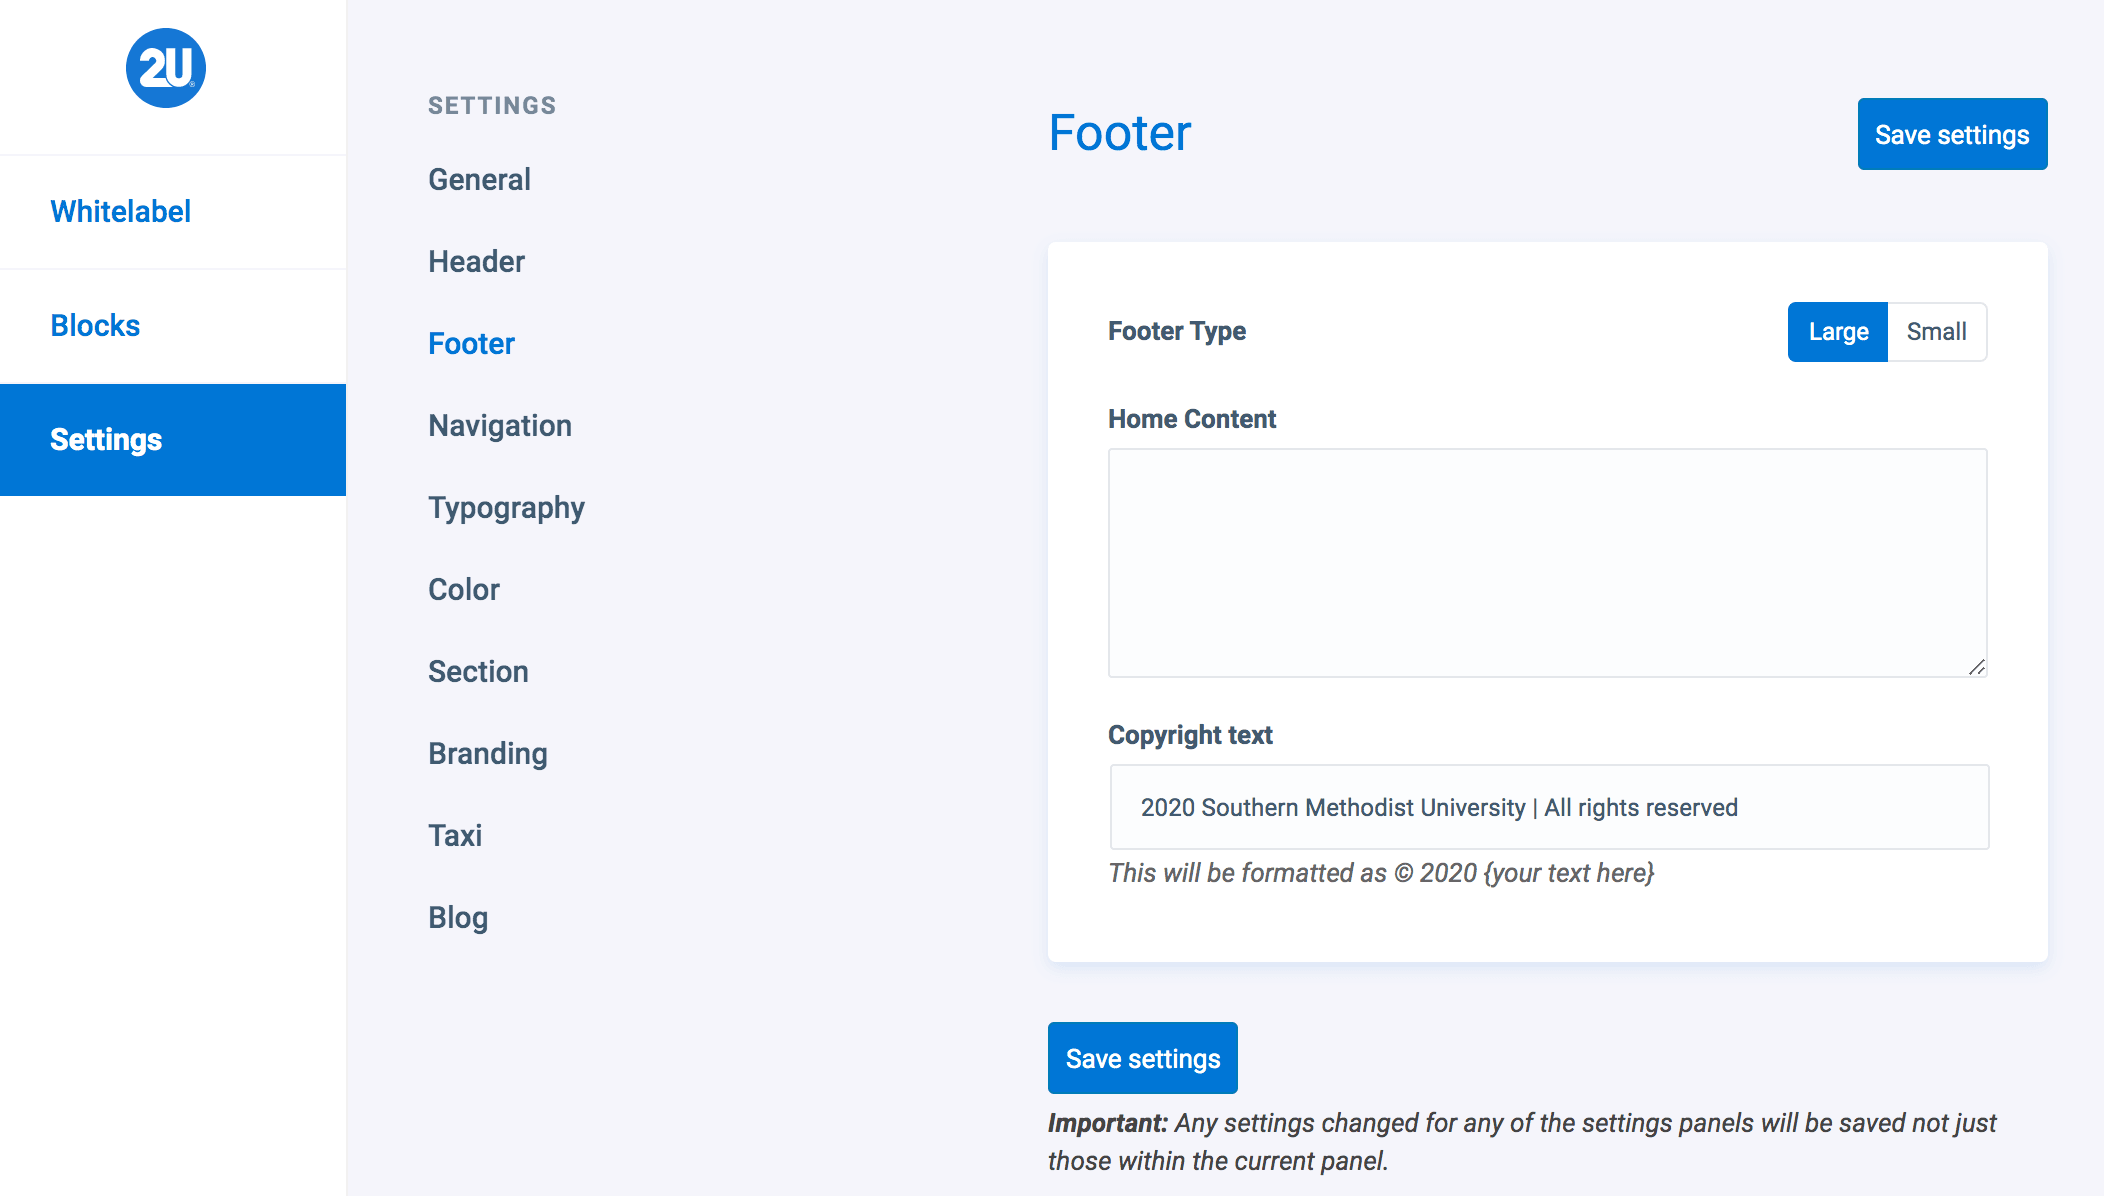
Footer
The Footer area of Global Settings allows you to edit the following fields:
- Home Content
- Copyright Text
Any text that is entered in these fields, will override the entire site. You can use the Footer Block to override these fields per page, if required.
Navigation Options
The Navigation tab within Global Settings allows you to adjust the horizontal alignment of the header navigation. This will also allow you to select the mobile alignment of the navigation too.
Insert image here once this is released
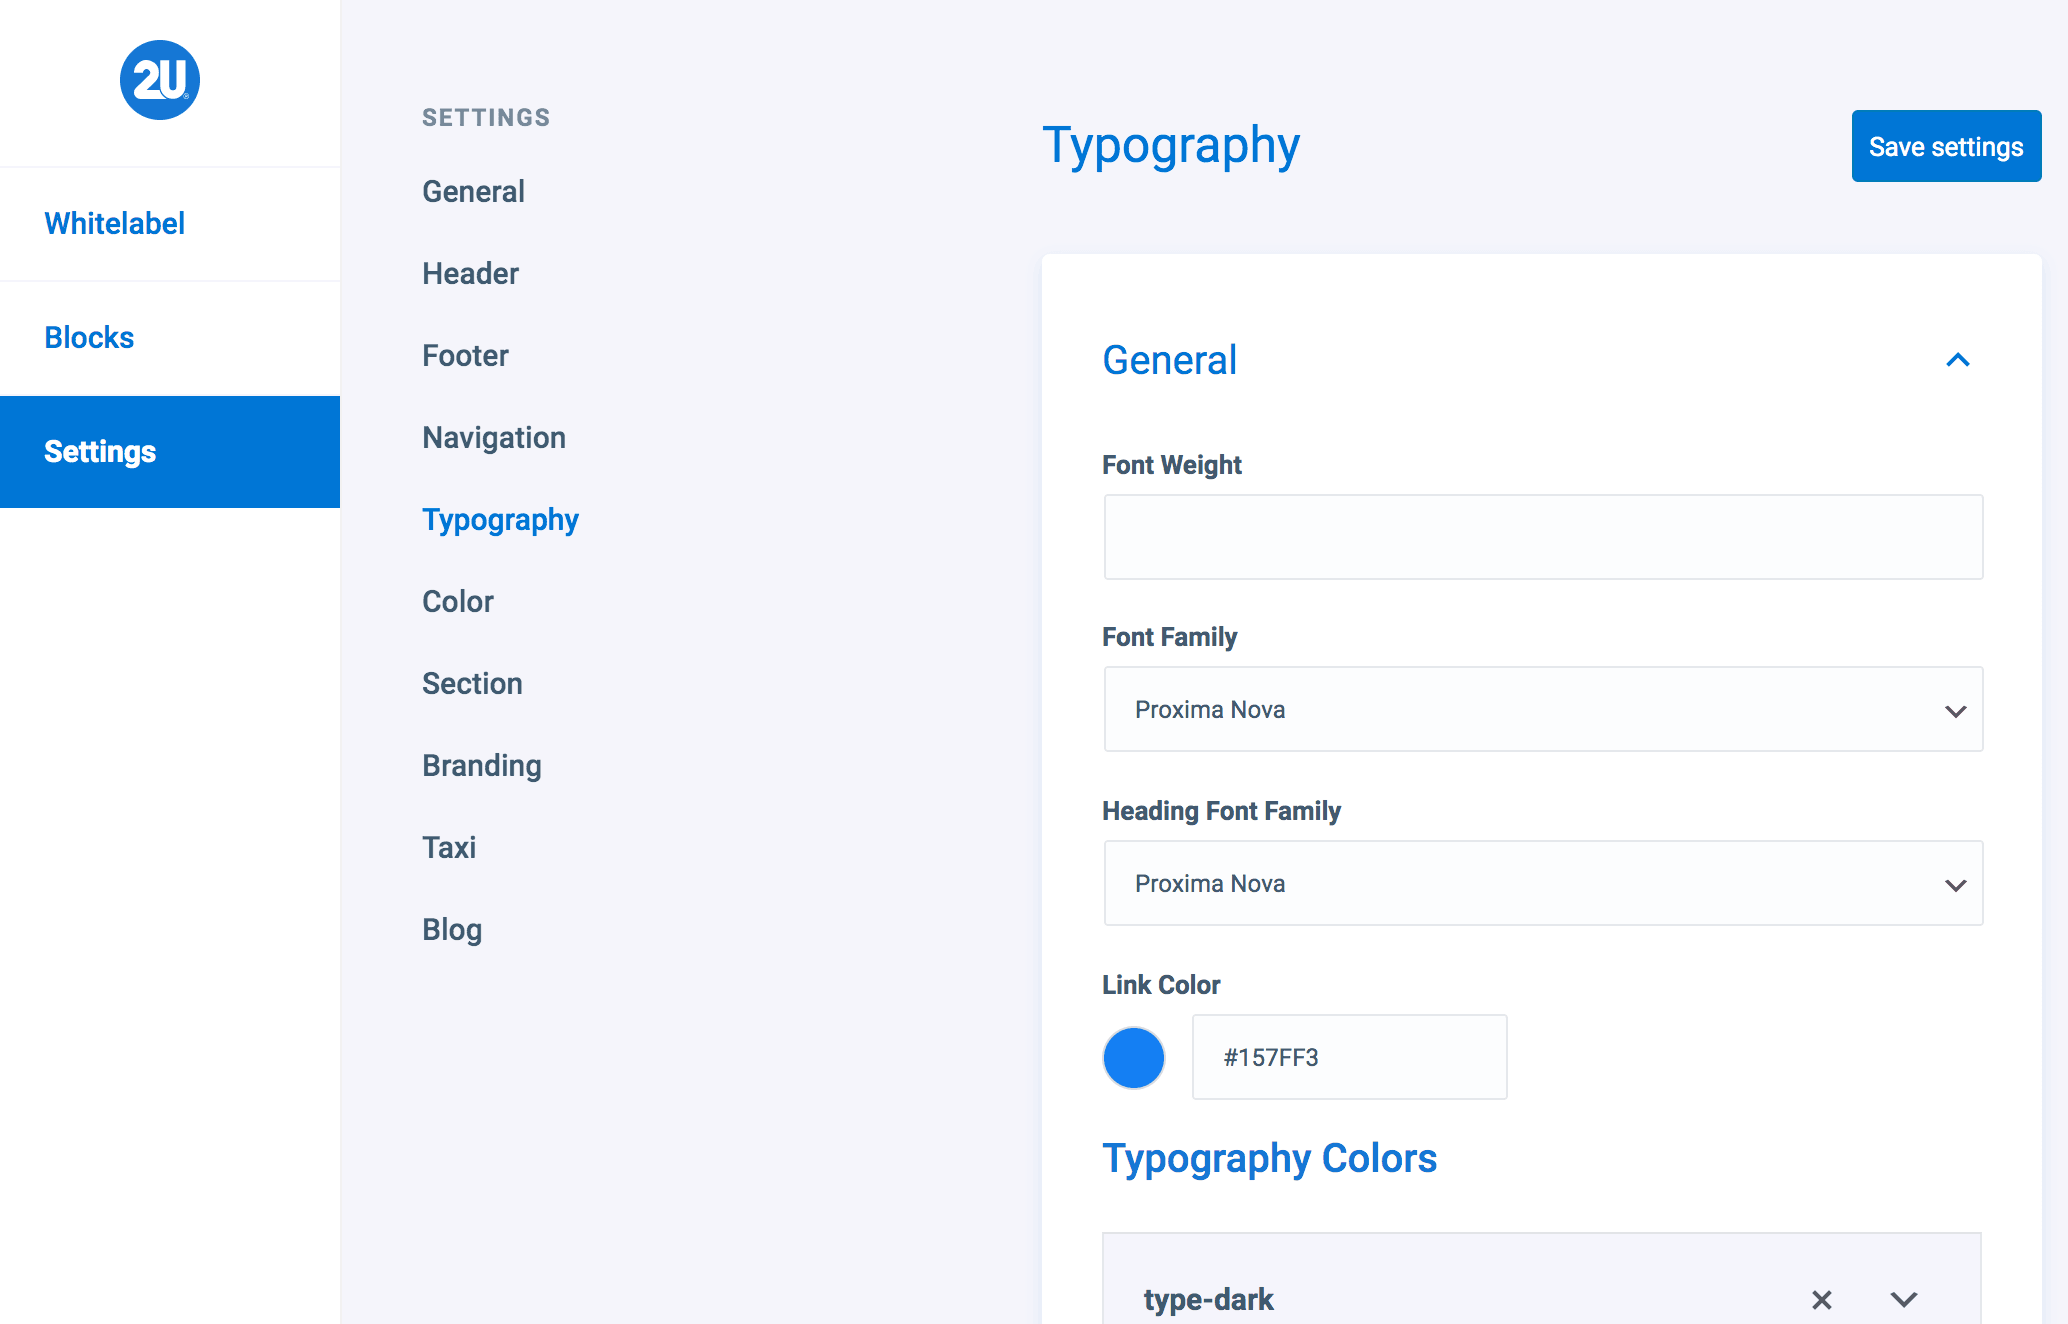
Typography
The Typography tab within Global Settings allows you to override all settings that have been imported from the Whitelabel settings. You can override settings such as:
- General Font Family
- Heading Font Family
- Link Colour
- Typography Colours
- Typography Size, Weight, Line Height & Letter Spacing
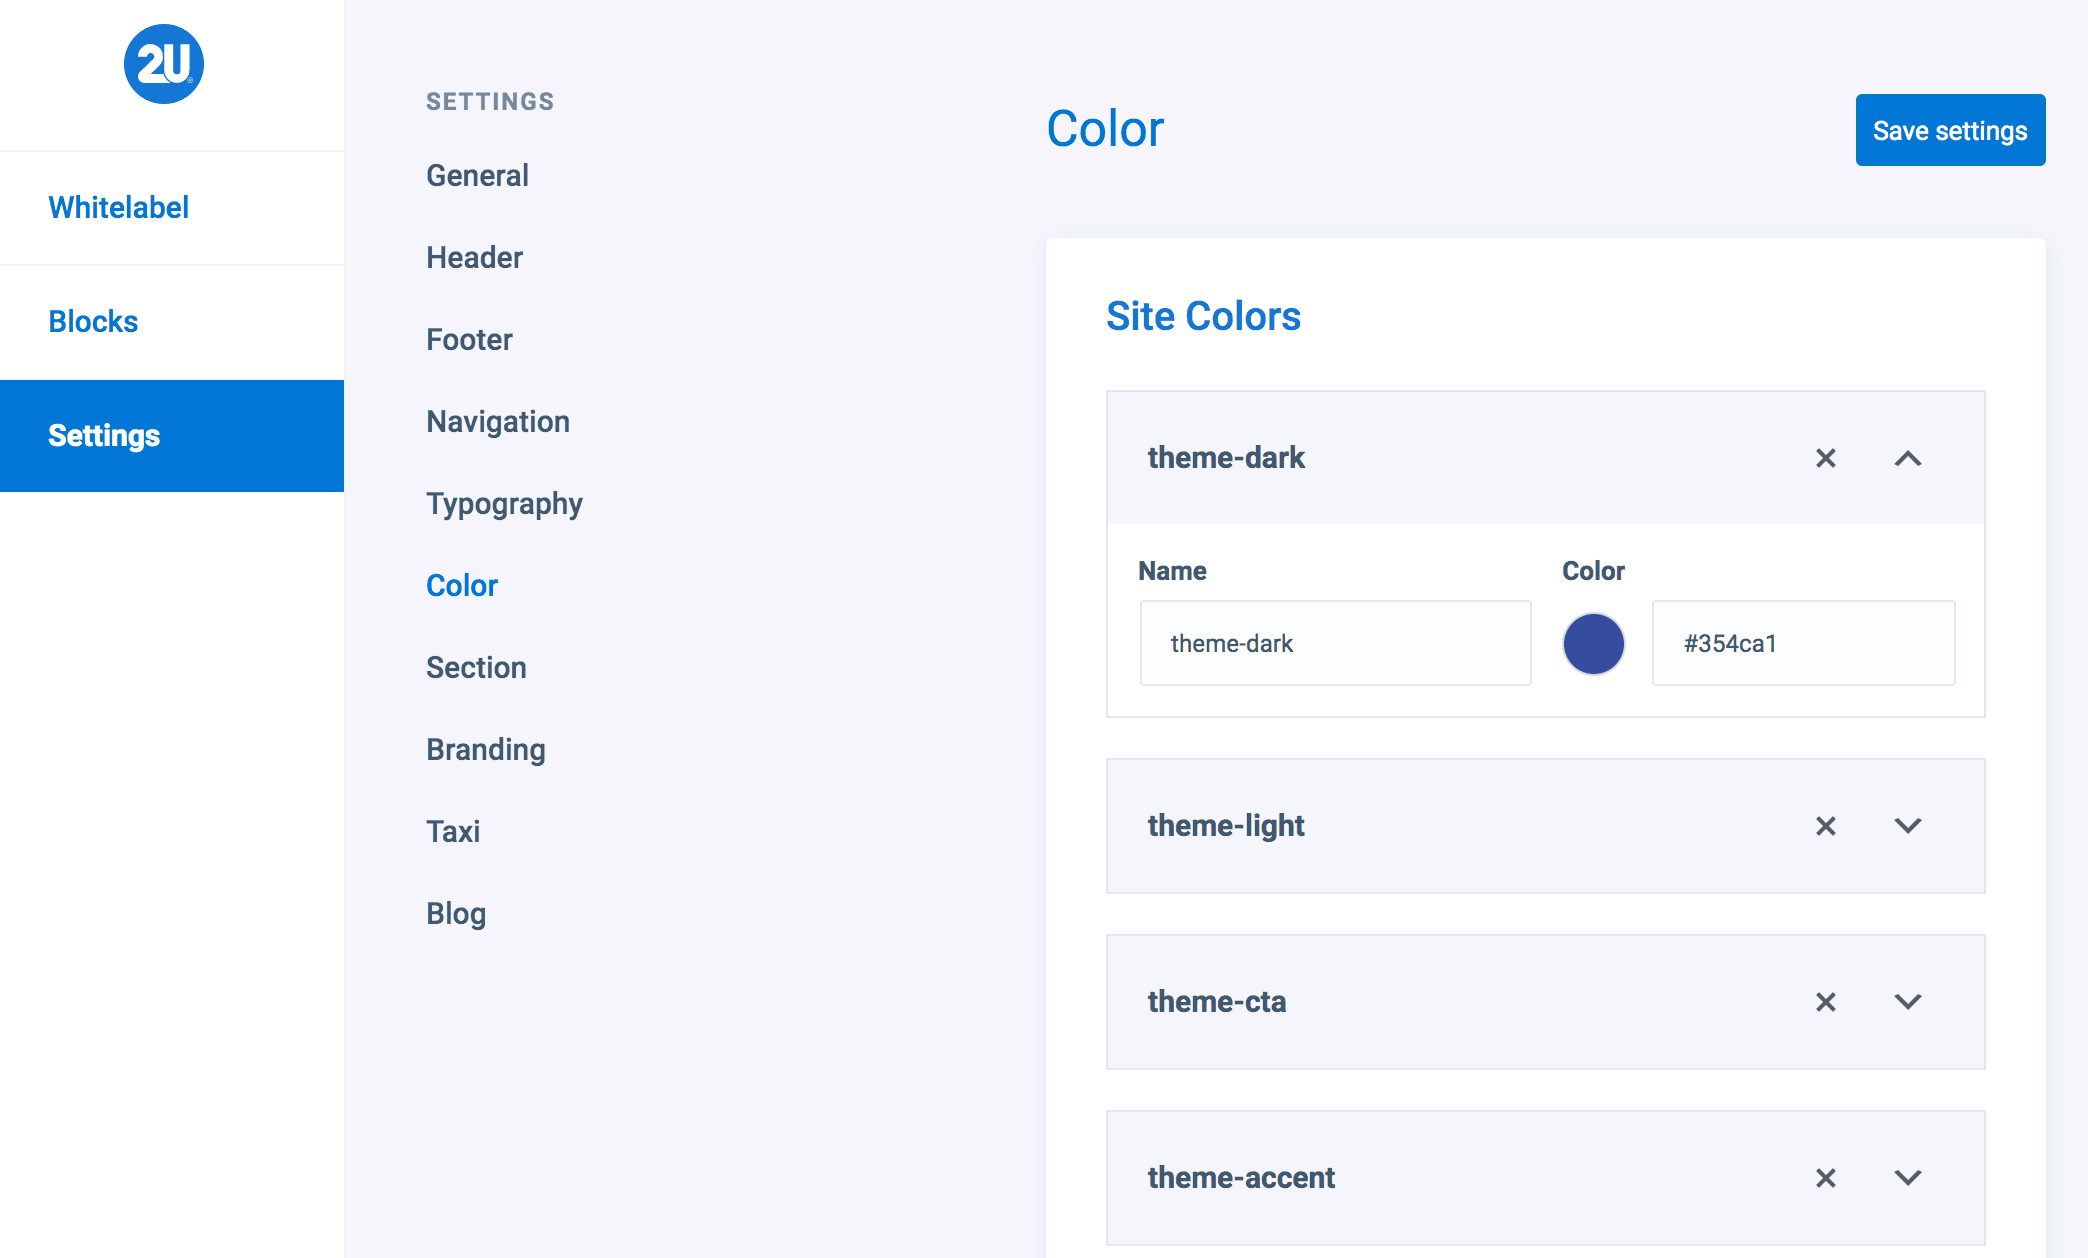
Colours
The Color tab within Global Settings allows you to to view & override any settings that have came down from the Whitelabel settings. The Whitelabel importer pulls over the color names such as:
- theme-dark
- theme-light
- theme-cta
- theme-accent
You can also add new colors on this page, which will not sync across to Whitelabel.
Section
The Section tab within Global Settings allows you to view the container sizes that have been passed through the Whitelabel importer. You can also override these container sizes, or add new ones, within this screen.
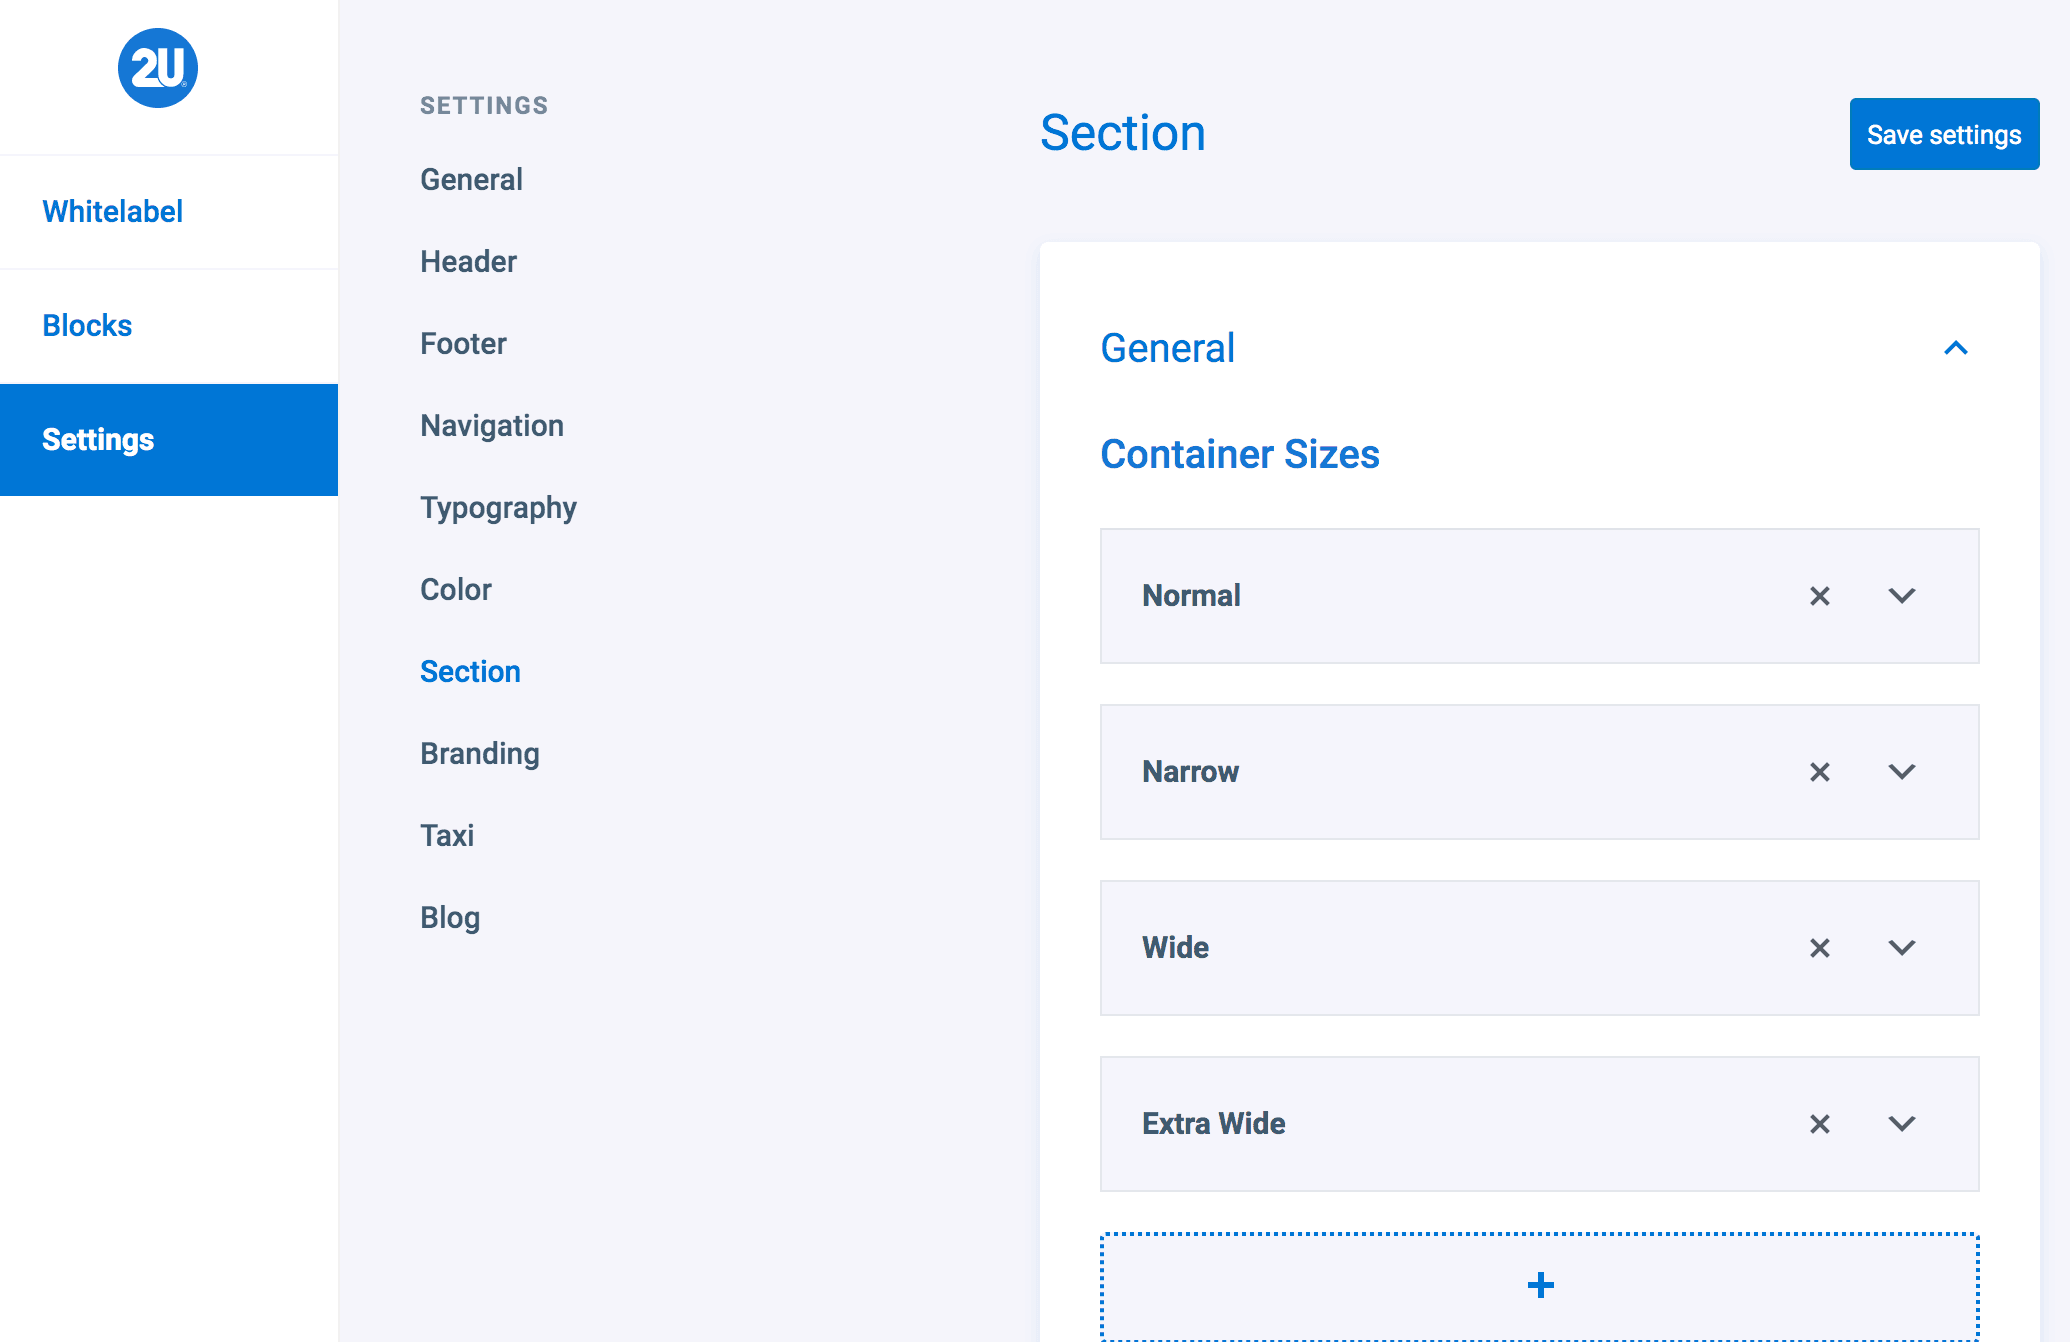
As well as the container sizes, you can set the sections default, primary & dark colors.

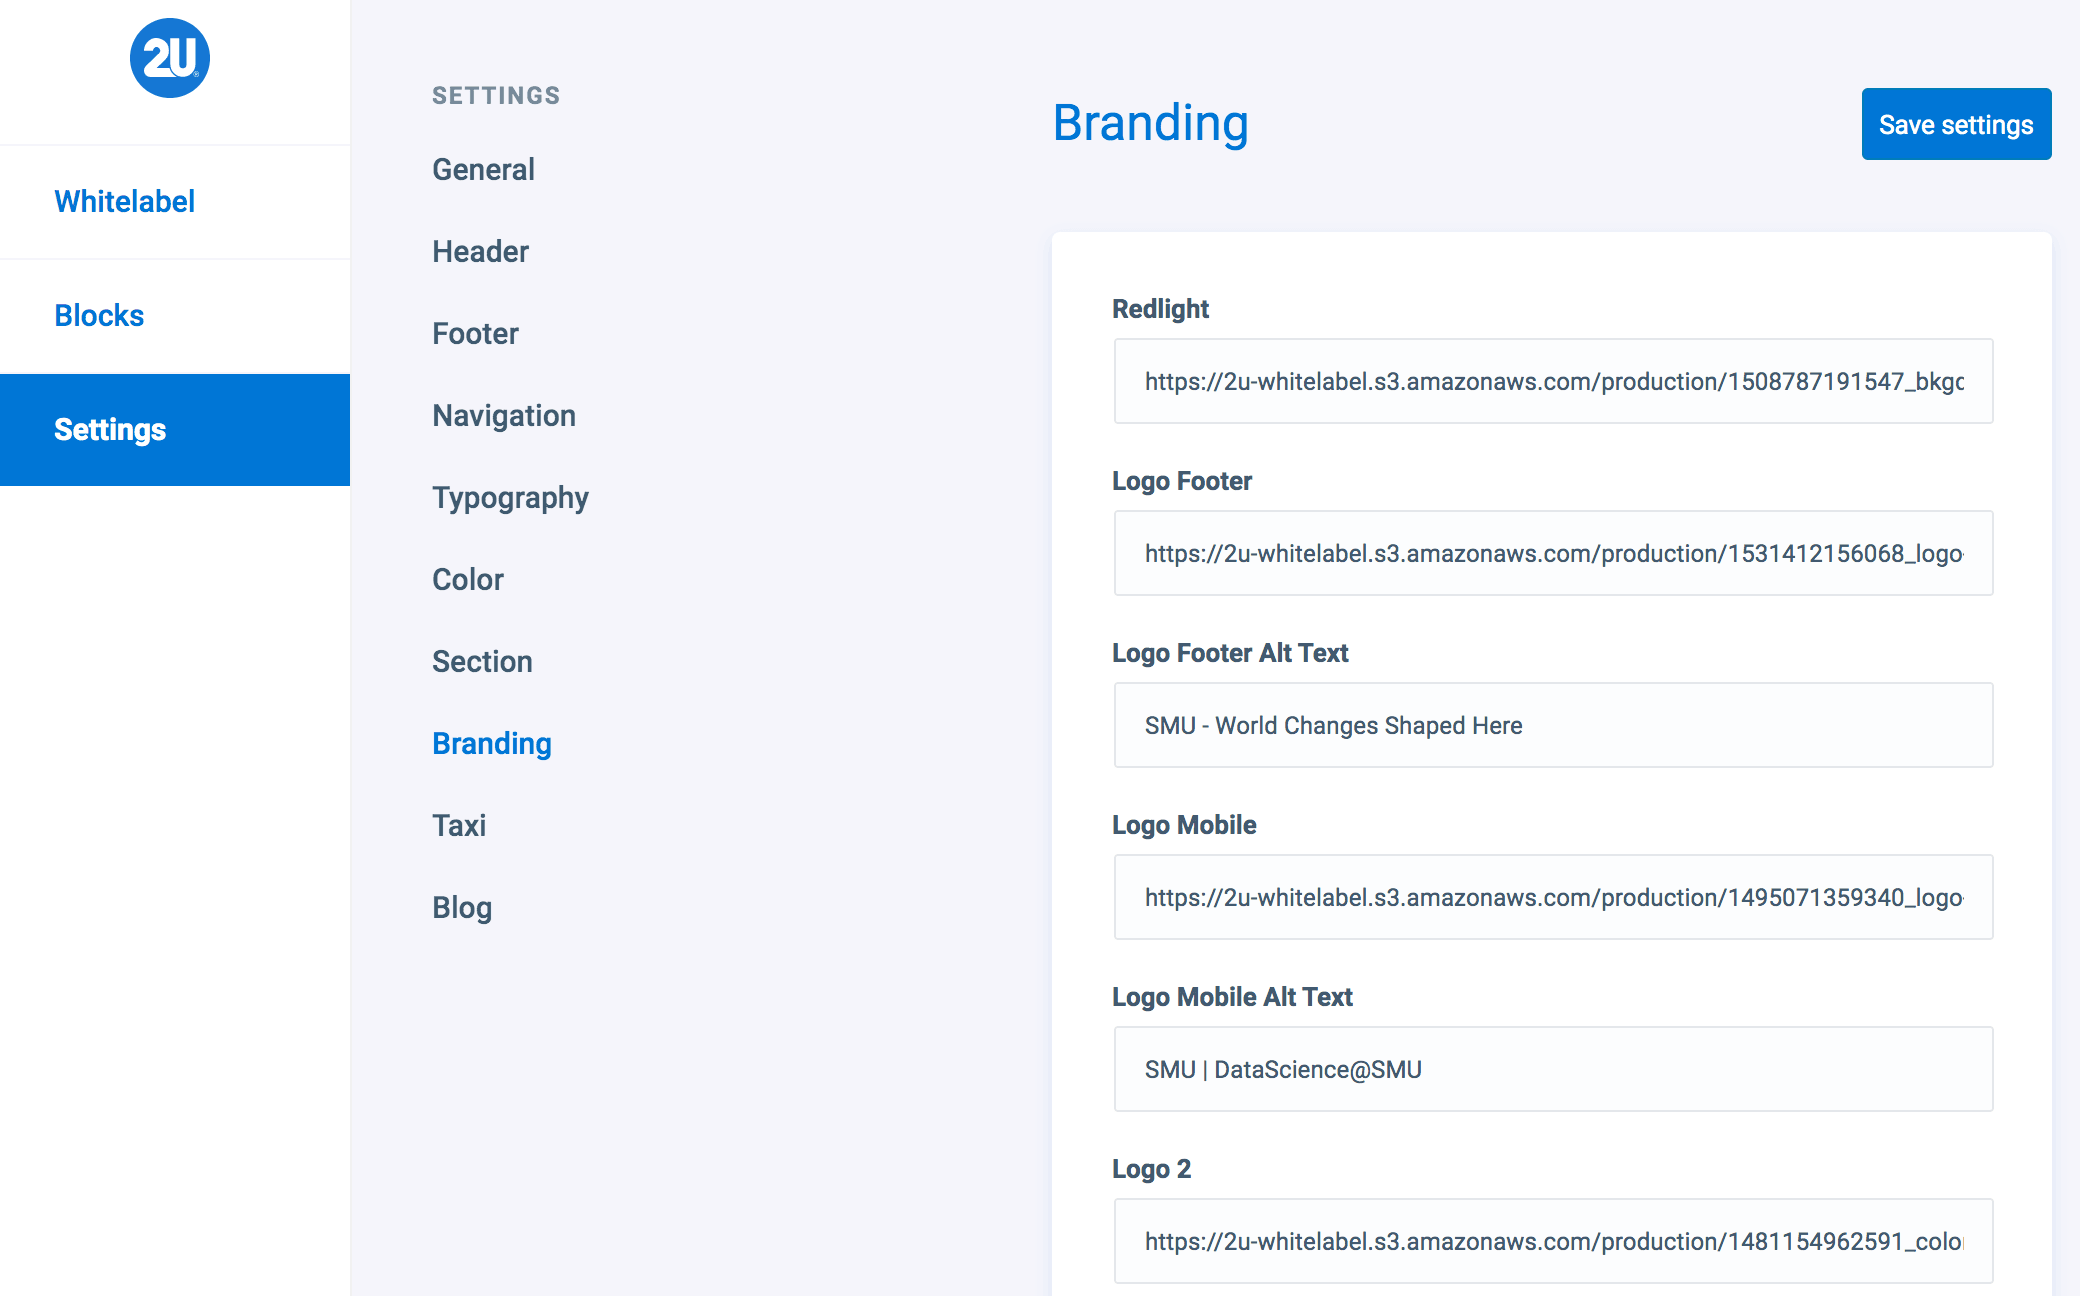
Branding
The Branding tab within Global Settings allows you to view all of the assets that have been pulled down via the Whitelabel importer. Some examples include:
- Redlight
- Logo Footer
- School Logo
- Program Logo
- Favicon
Within this screen, you can override any of these assets by inserting a URL to the new asset you want to use and clicking save.
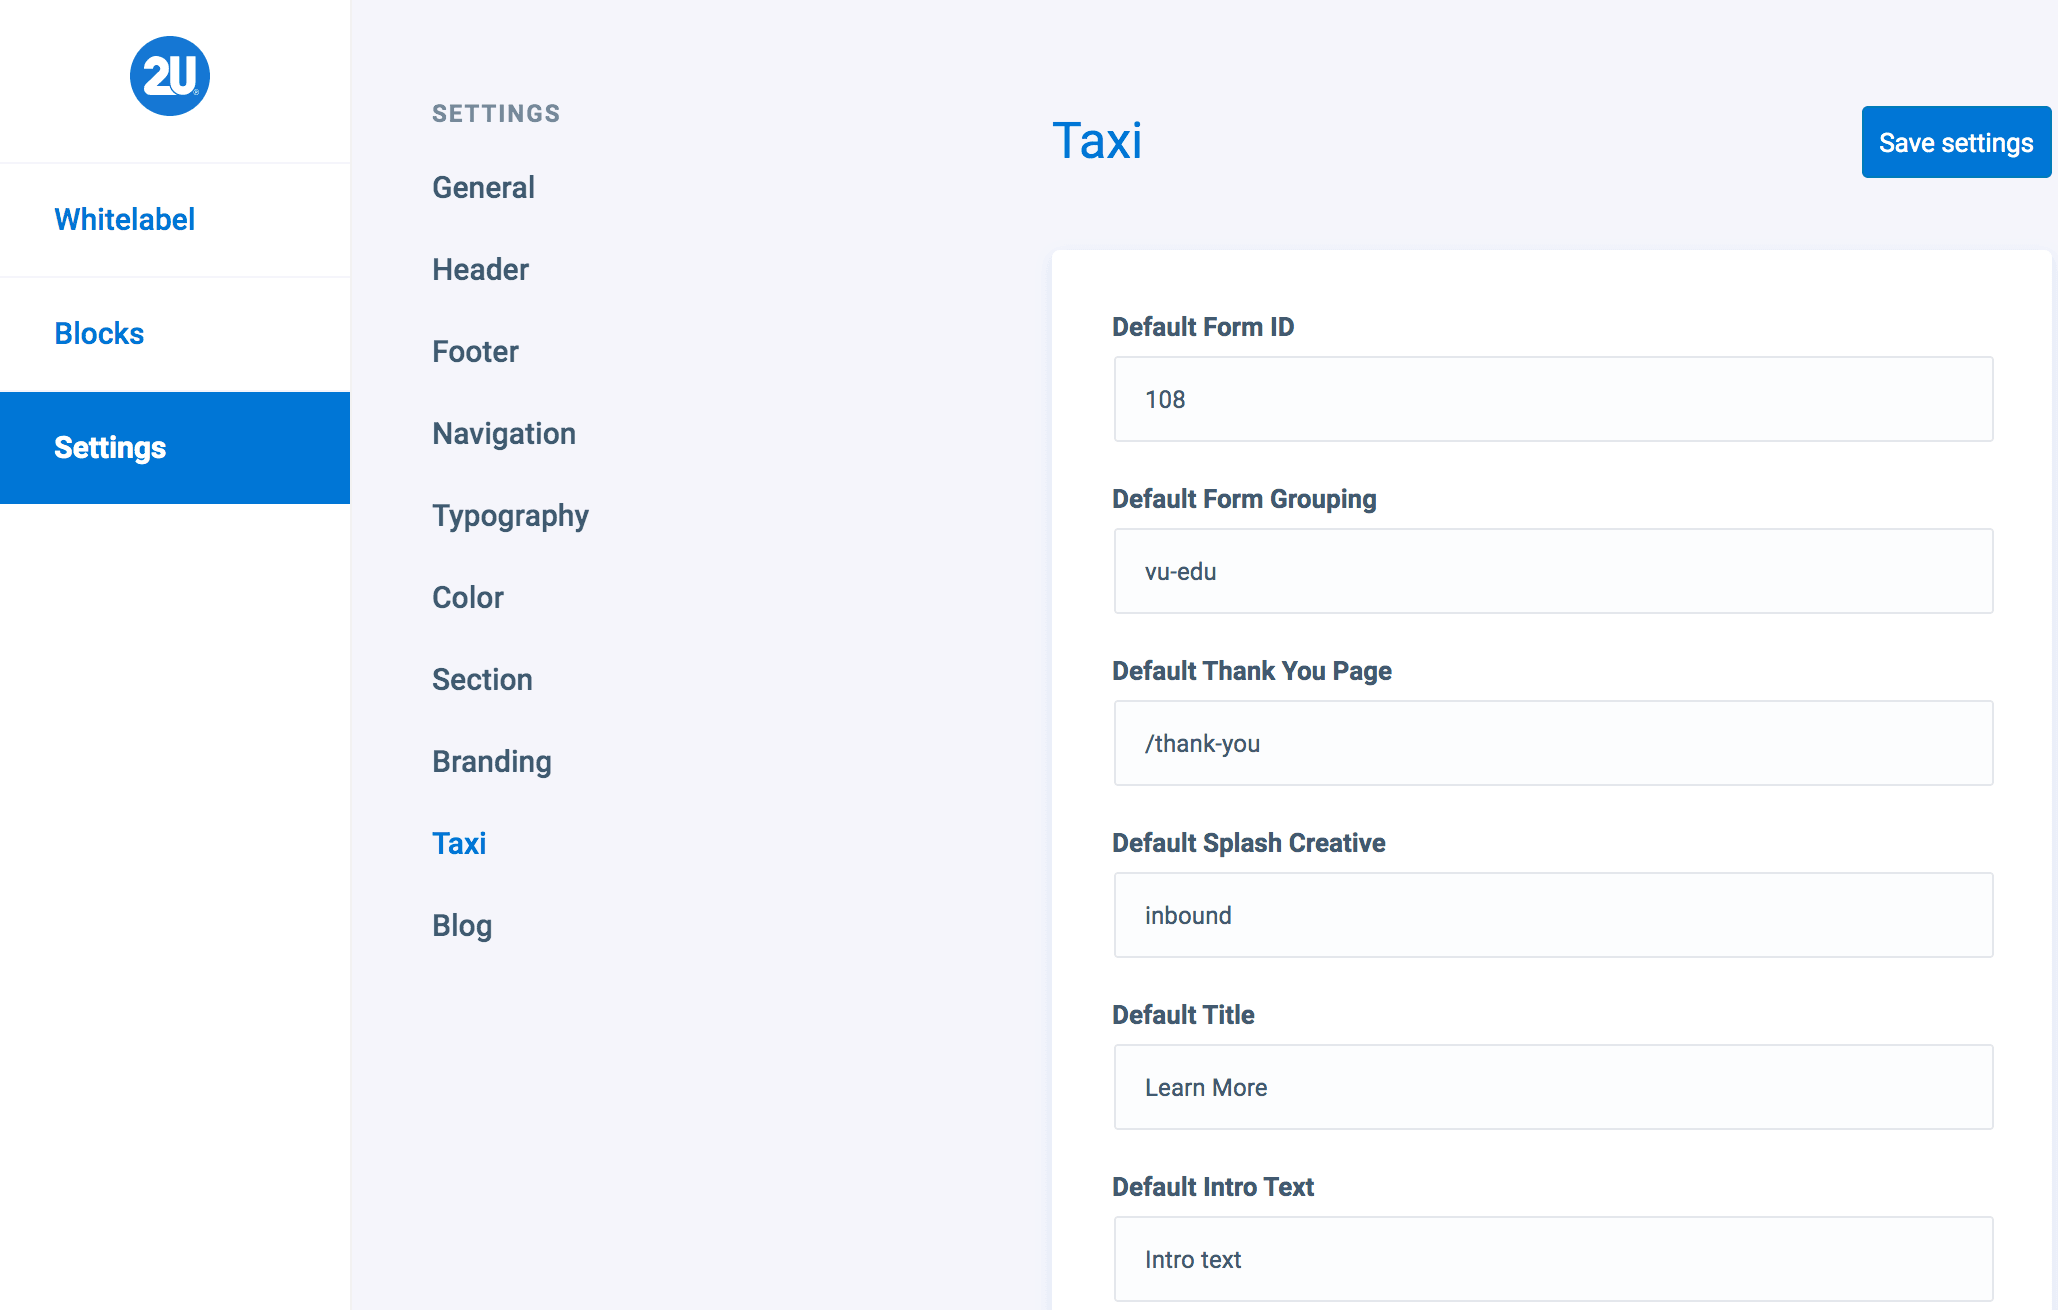
Taxi
The Taxi tab in Global Settings allows you to enter a Default Form ID and Default Form Grouping which will sync with the Taxi Block when inserted anywhere on the site. Any fields that you override in this screen, will apply to all Taxi forms used across the site.
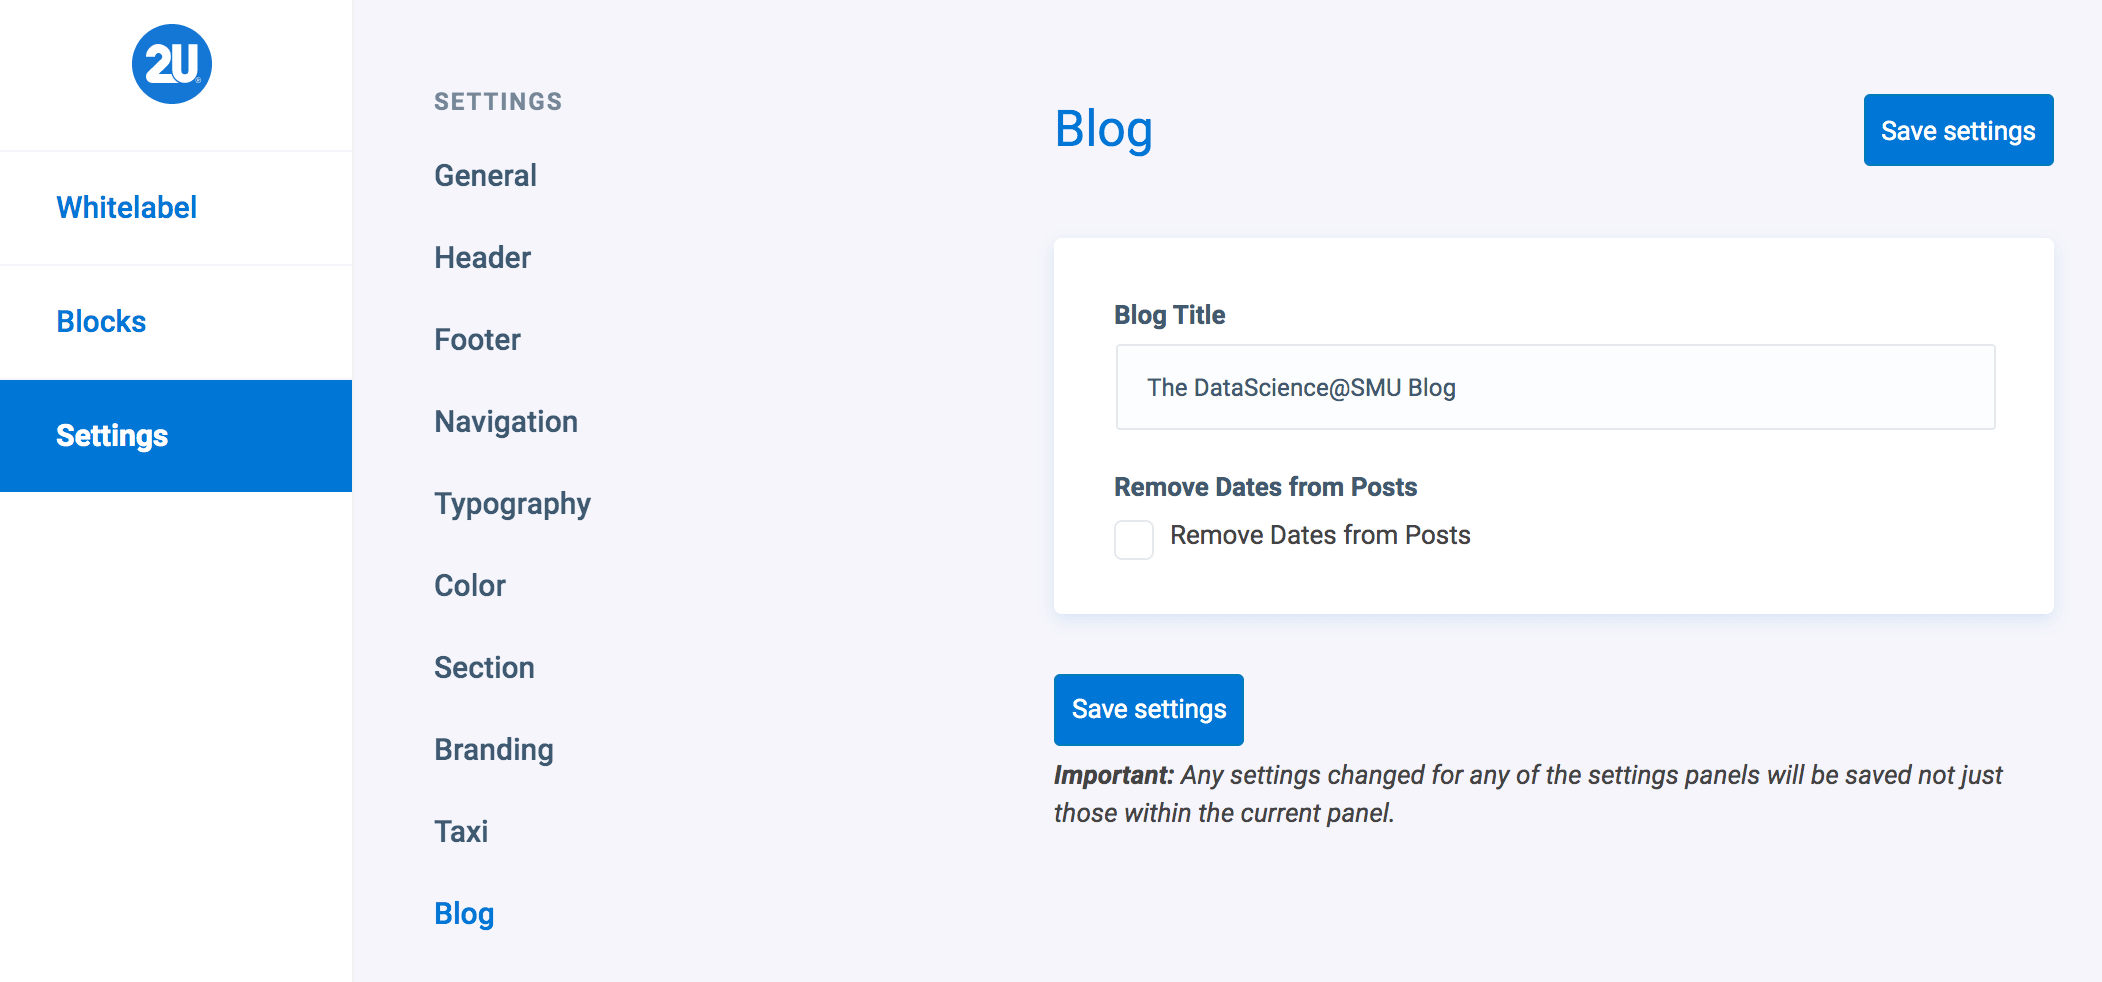
Blog
The Blog tab within Global Settings allows you to edit the following:
- Blog Title
- Remove dates from Posts
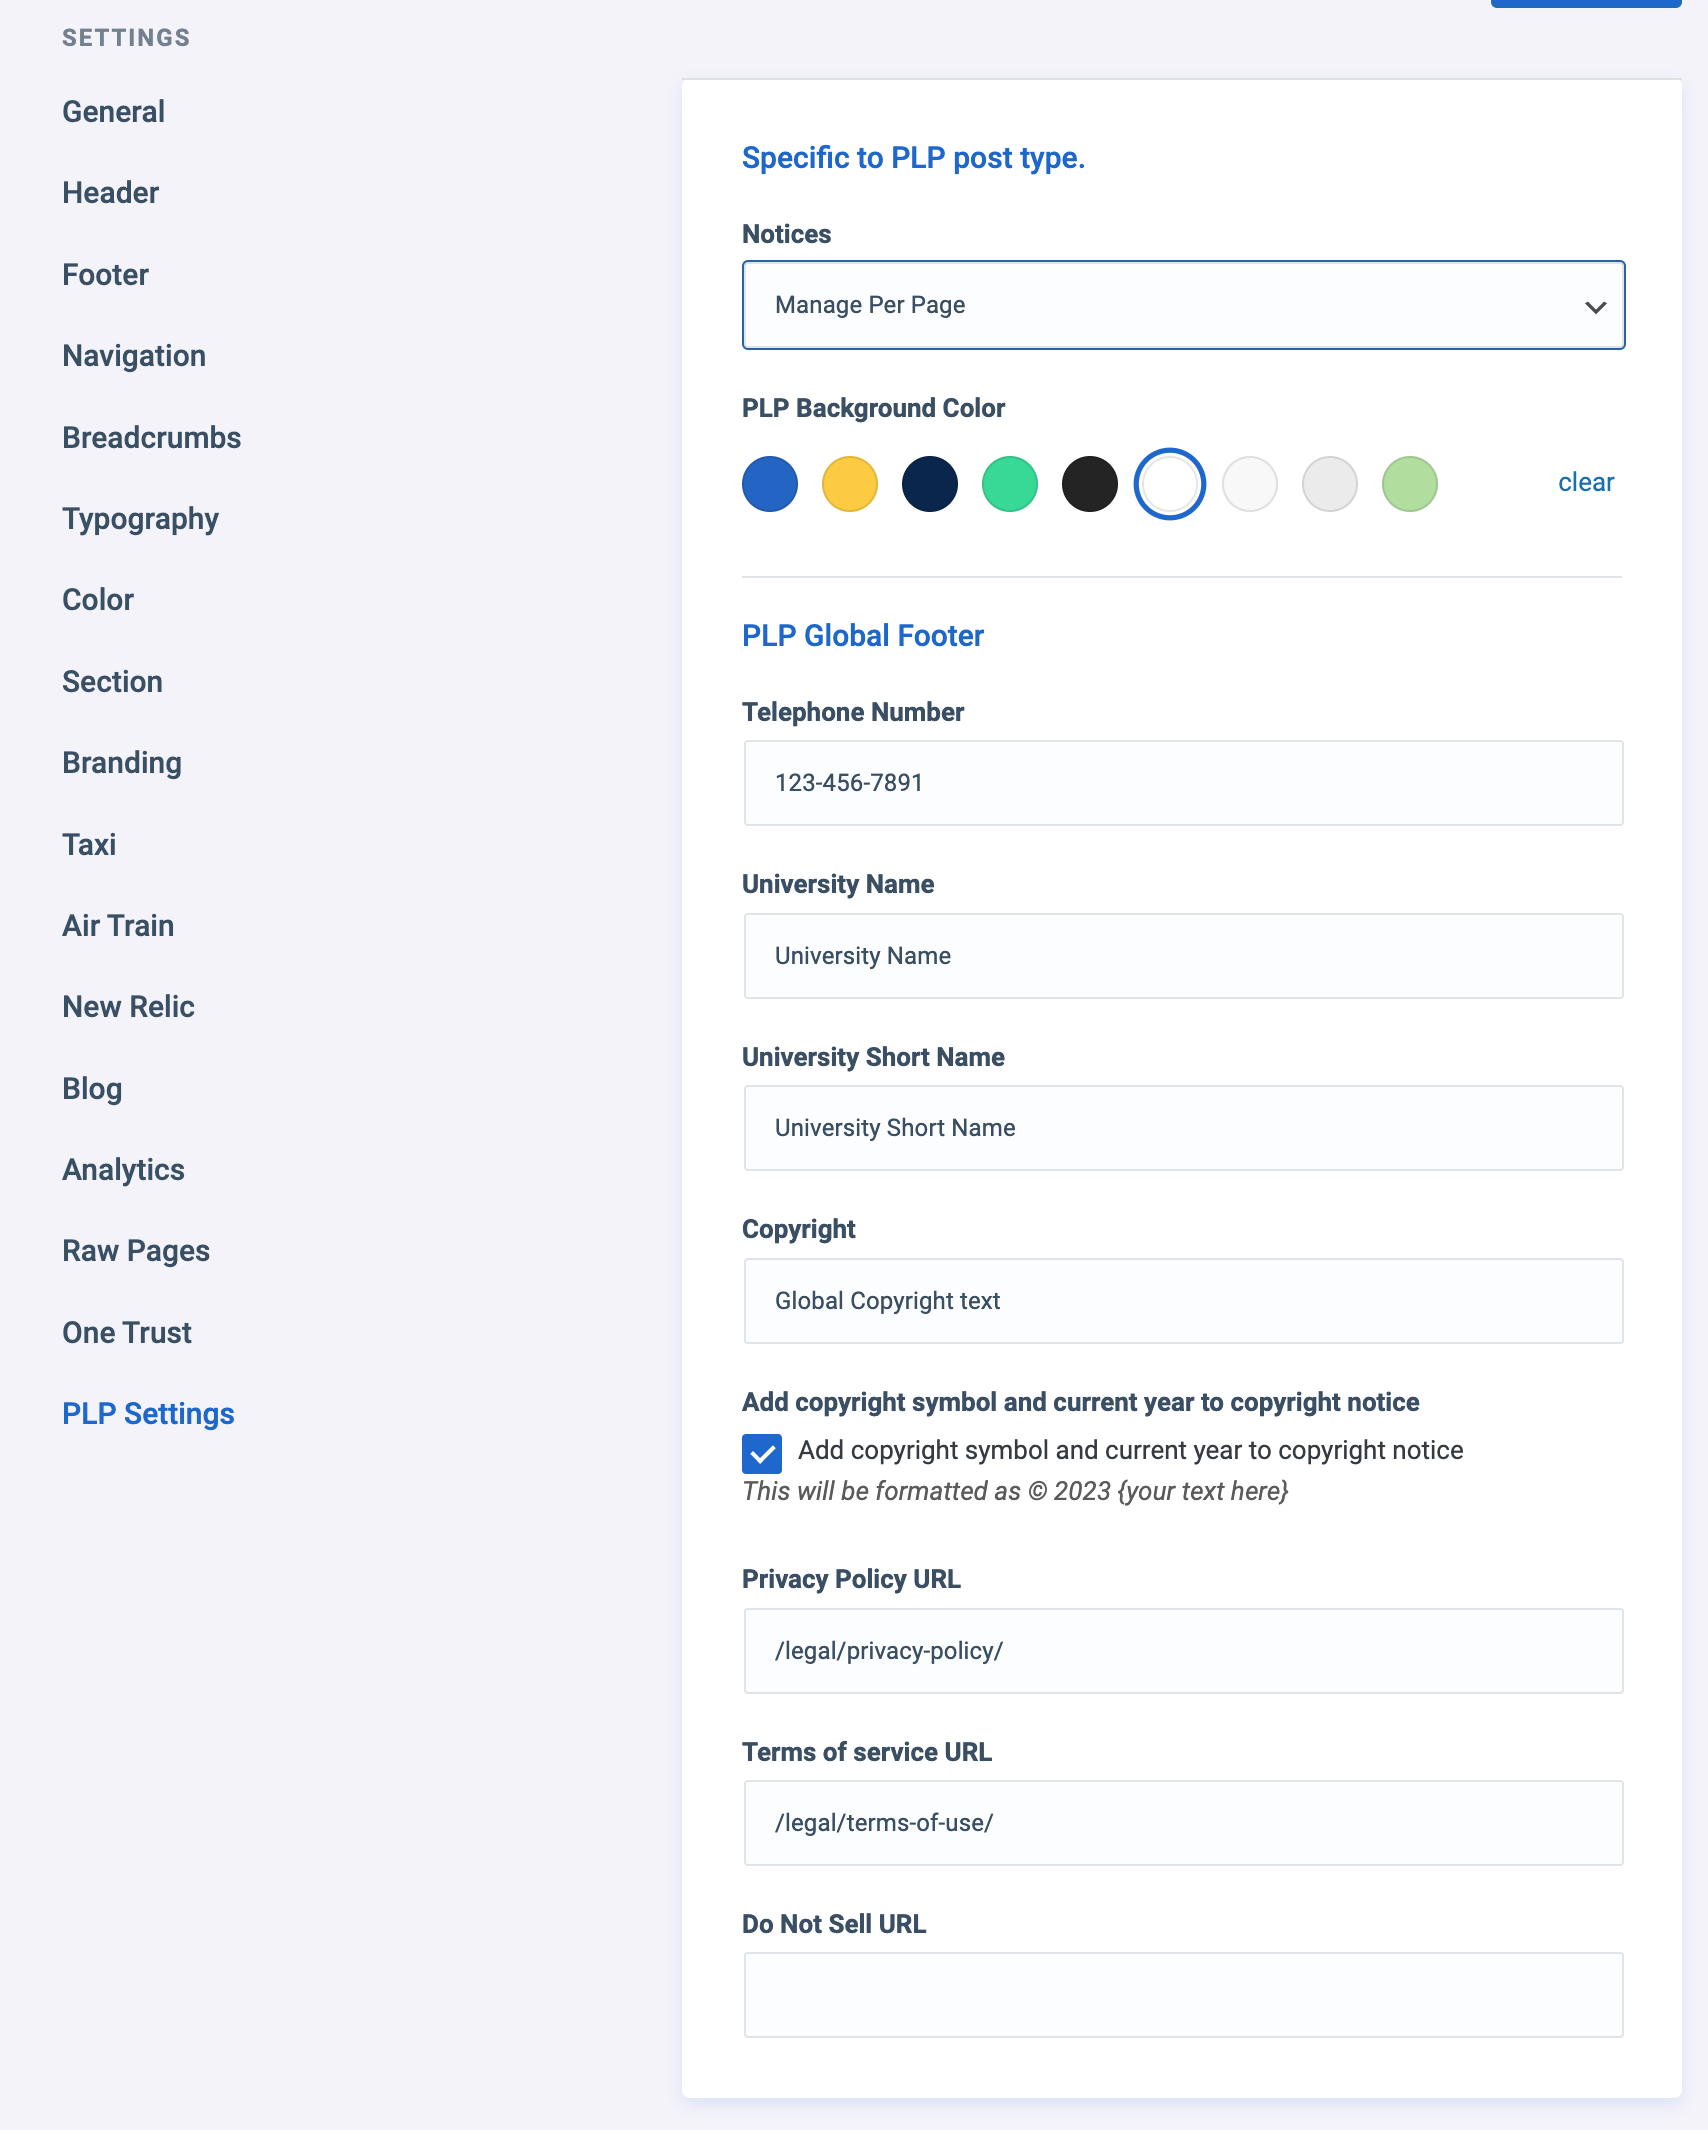
Global PLP Settings
The PLP Settings tab provides options for notice/banner management, PLP Background Color and Global Footer information across the PLP post-type.
The Footer information will display across all PLPs unless there is a footer override block present to customize footer info on a page-level basis. Any fields left blank in the footer override block will pull from the global settings.
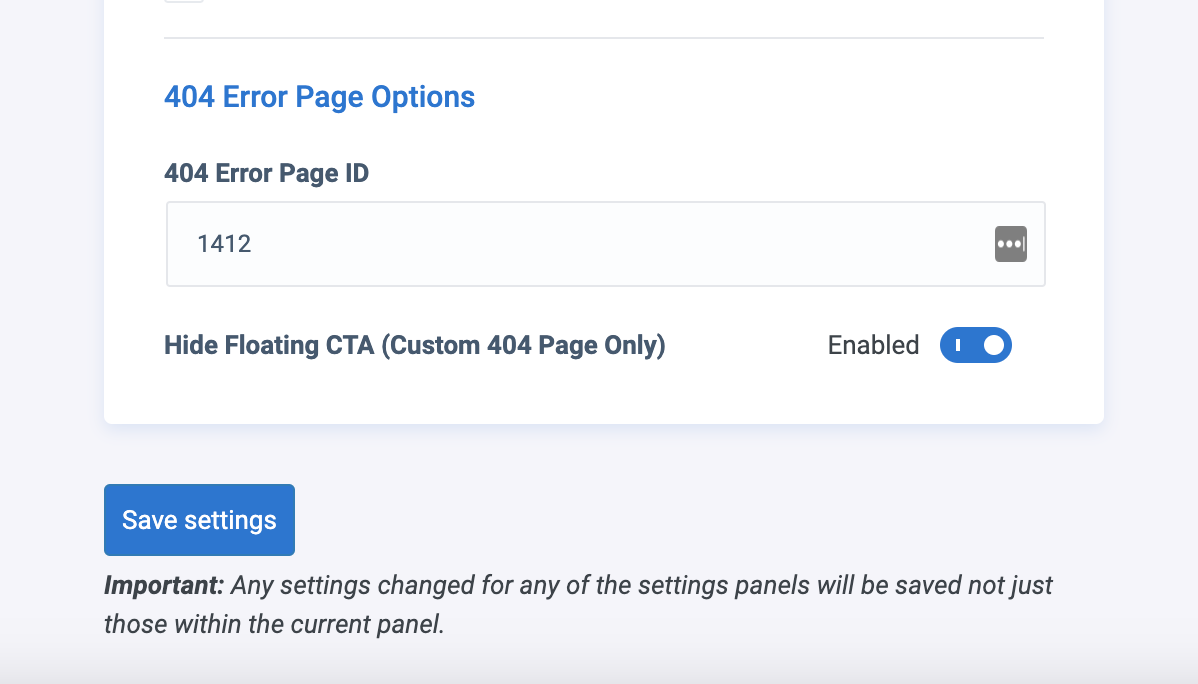
Custom 404 Pages
To create a custom 404 page
- Create and publish a no-index page with the title “Page not found“. Once approved, set this page as the 404 page via these remaining steps.
- Note the page ID found in the editor url, example: wp-admin/post.php?post=1412&action=edit (1412 is the page ID)
- Go to the Global Settings > General admin page
- Scroll to the bottom and find the select box for 404 Error Page ID and enter the page ID
- Save
- Visit a random non existing URL on the front end, your page should be shown: example:
Example: This example page is the custom 404 page for the TAP website.